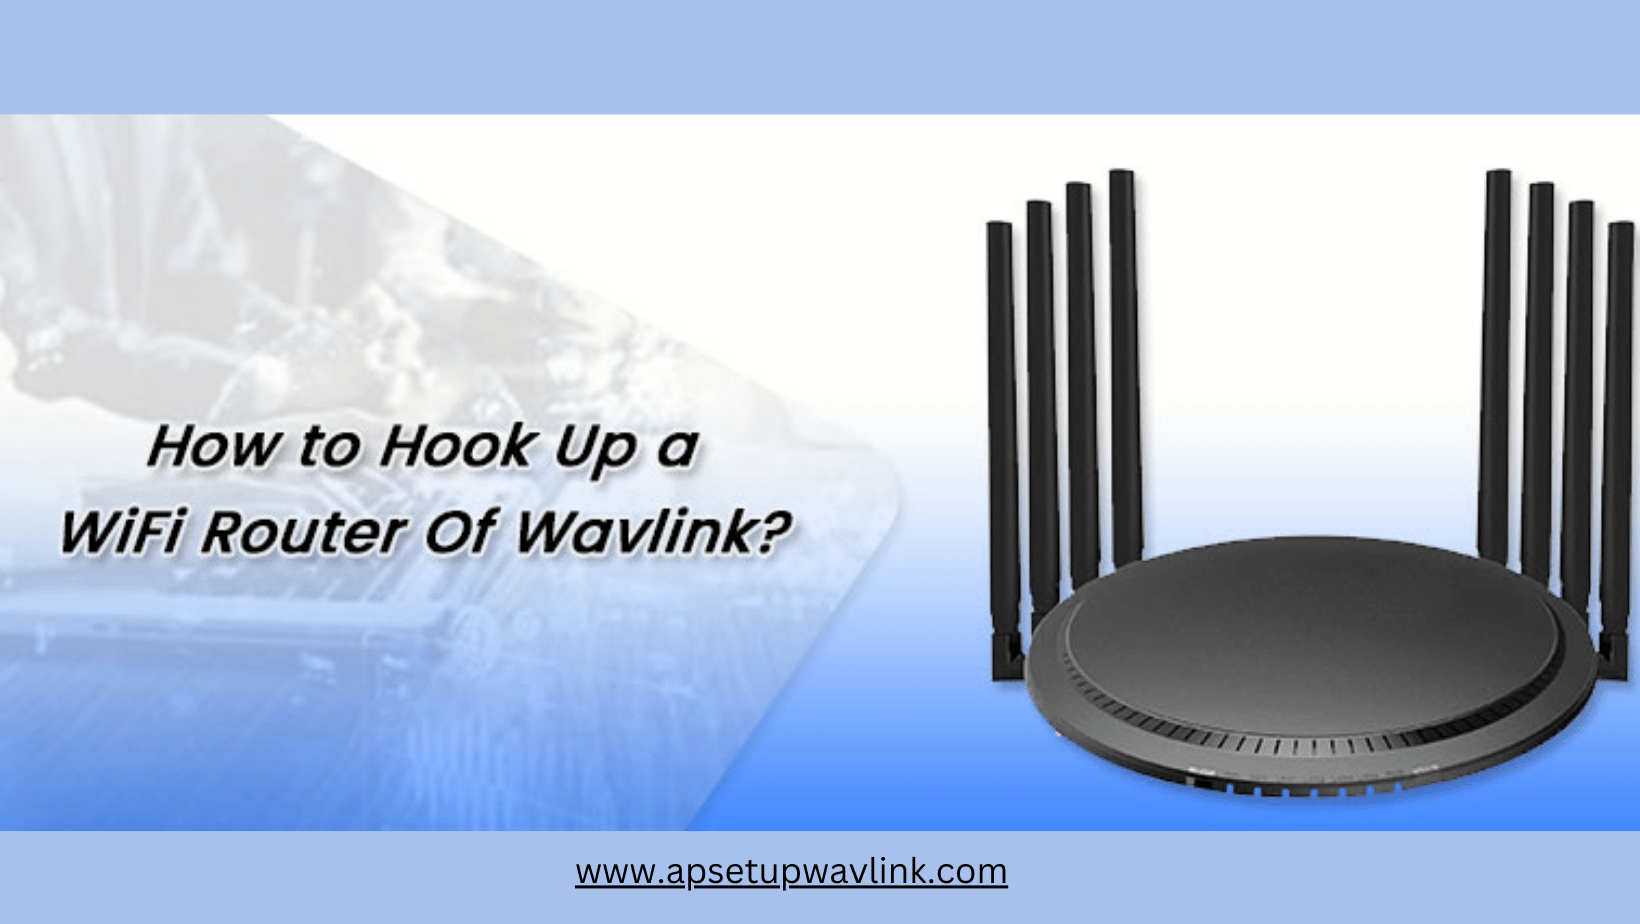
Acquiring a new wireless WiFi router from Wavlink? Excellent choice! You’ve taken a smart step forward to revolutionize your wireless internet experience. Nevertheless, prior to delving into the world of the Wavlink WiFi router, you must first connect it. In this context, “hook-up” pertains to the setup or configuration procedure for your Wavlink WiFi router.
Wavlink WiFi router Setup can be a bit intricate, particularly for individuals unfamiliar with the Wavlink WiFi system. If you find yourself uncertain about how to hook up a WiFi router, this comprehensive setup guide is tailored to assist you. Continue perusing this informative piece, where you’ll gain insight into various practical and valuable setup methods and functions. Let’s commence the journey now!
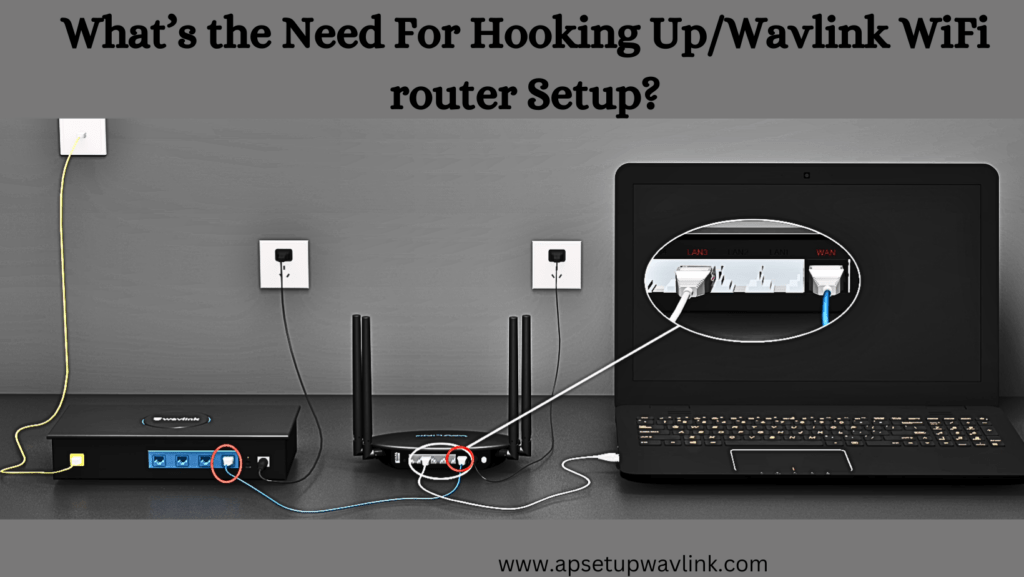
What’s the Need For Hooking Up/Wavlink WiFi router Setup?
Similar to any new smartphone, tablet, or computer, a new WiFi router from Wavlink necessitates email sign-in and device setup. This process is mandatory, and no user can bypass it. Attempting to skip this essential step and jumping straight into the fun part will result in an inability to connect to the router. Furthermore, the hook-up or set-up process plays a pivotal role in activating all the features of a WiFi router, encompassing the WPA2 security feature, one-button setup, and parental control. Hence, executing and completing the router hook-up process is crucial for optimal functionality.
Hooking up a Wavlink WiFi router is deemed essential for various reasons. To discover more about these reasons, you can refer to the Wavlink WiFi router manual or consult with a trustworthy Wavlink Technical Support Expert. Before delving into the specifics of how to hook up a Wavlink WiFi router, let’s first explore the fundamental setup requirements.
Basic Requirements For Wavlink WiFi Router Hook Up
A wireless WiFi router hook-up or setup is usually a little complicated. And if you don’t know the basic requirements for this, it becomes even more complicated. Consequently, you face so many errors and issues during the WiFi router hook-up process which frustrates you. Also, coming across these issues delays the Wavlink router setup process. Hence, every single WiFi router user must learn about the basic setup requirements of their WiFi device, irrespective of the brand name.
- For your convenience, we have outlined the basic requirements for the Wavlink WiFi router hook-up below. Check it out!
- You Will Need a Wavlink WiFi Router/ Extender/ Access Point
- You Must Already Have a Modem or Router Which Will Be the Host Device
- A Place With Better Network Signals is Also a Must
- You Will Require to Have the Correct Login Credentials for Your Wavlink Device
- There Must Be an Ethernet Cable to Connect Wavlink Device to the Host Modem
- A Computer, Tab, or Mobile Device is Needed to Access the Wavlink Login Portal
How to Hook Up a WiFi Router: Web-Based Method?
Users have multiple options for connecting their Wavlink devices. While the second approach uses the Wavlink mobile app, the first involves utilizing a web-based login gateway. To find out how to connect a web browser to a router for WiFi, simply follow the instructions provided below.
Steps to Wavlink WiFi router Setup
- Locate a Clear Area in Your Home or Office to Install Your Wavlink WiFi Router
- To connect the modem and Wavlink device, take an Ethernet cable.
- After plugging in and turning on your Wavlink Host modem or router, connect your Wavlink WiFi device and watch for the power LED to flash.
- Now, connect your computer, desktop, or smartphone to the Wavlink device. To access the Wavlink Login option on the web interface that opens, simply go to your device, open a web browser, and type wifi.wavlink.com or the Wavlink IP Address
- Enter the login credentials for your Wavlink device to finish the login process.
- Following Login Completion, Proceed to the Hook-Up/ Setup Option
- Locate a Clear Area in Your Home or Office to Install Your Wavlink WiFi Router
- To connect the modem and Wavlink device, take an Ethernet cable.
- After plugging in and turning on your Wavlink Host modem or router, connect your Wavlink WiFi device and watch for the power LED to flash.
Now, connect your computer, desktop, or smartphone to the Wavlink device. To access the Wavlink Login option on the web interface that opens, simply go to your device, open a web browser, and type wifi.wavlink.com or the Wavlink IP Address. Enter the login credentials for your Wavlink device to finish the login process.
Following Login Completion, Proceed to the Hook-Up/ Setup Option
Hooking Up WiFi Router Using the App
The web-based procedure mentioned above and the app-based method for setting up a WiFi router are nearly identical. The platform is the only thing that differs. If you choose the app-based approach, the Wavlink app is where you complete the full procedure. Prior to logging into your Wavlink account, you must download and install the app on your mobile device. The remainder of the procedure won’t change. So, without any hesitation, follow the above-described setup procedure.
Finally, we hope you now have a better understanding of how to connect a Wavlink WiFi router. However, you can read more insightful & helpful writings in our blog section if you run into any problems.
Read More
- WL WN519n2 N300 Extender Setup
- WL-WN691AEF AC650 Extender Setup
- Wl WN566a2 AC750 Extender Setup
- Wl WN566a2 AC750 Extender Setup
- WL WN579G3 AC1200 Extender Setup
- WL WN583A6 AC2100 Extender Setup
- Wavlink wifi4 extender setup
- WL WN575A4 AC1200 Extender Setup
- WL WN575A4 AC1200 Extender Setup
- WL WN583AX1 AX1800 Extender Setup