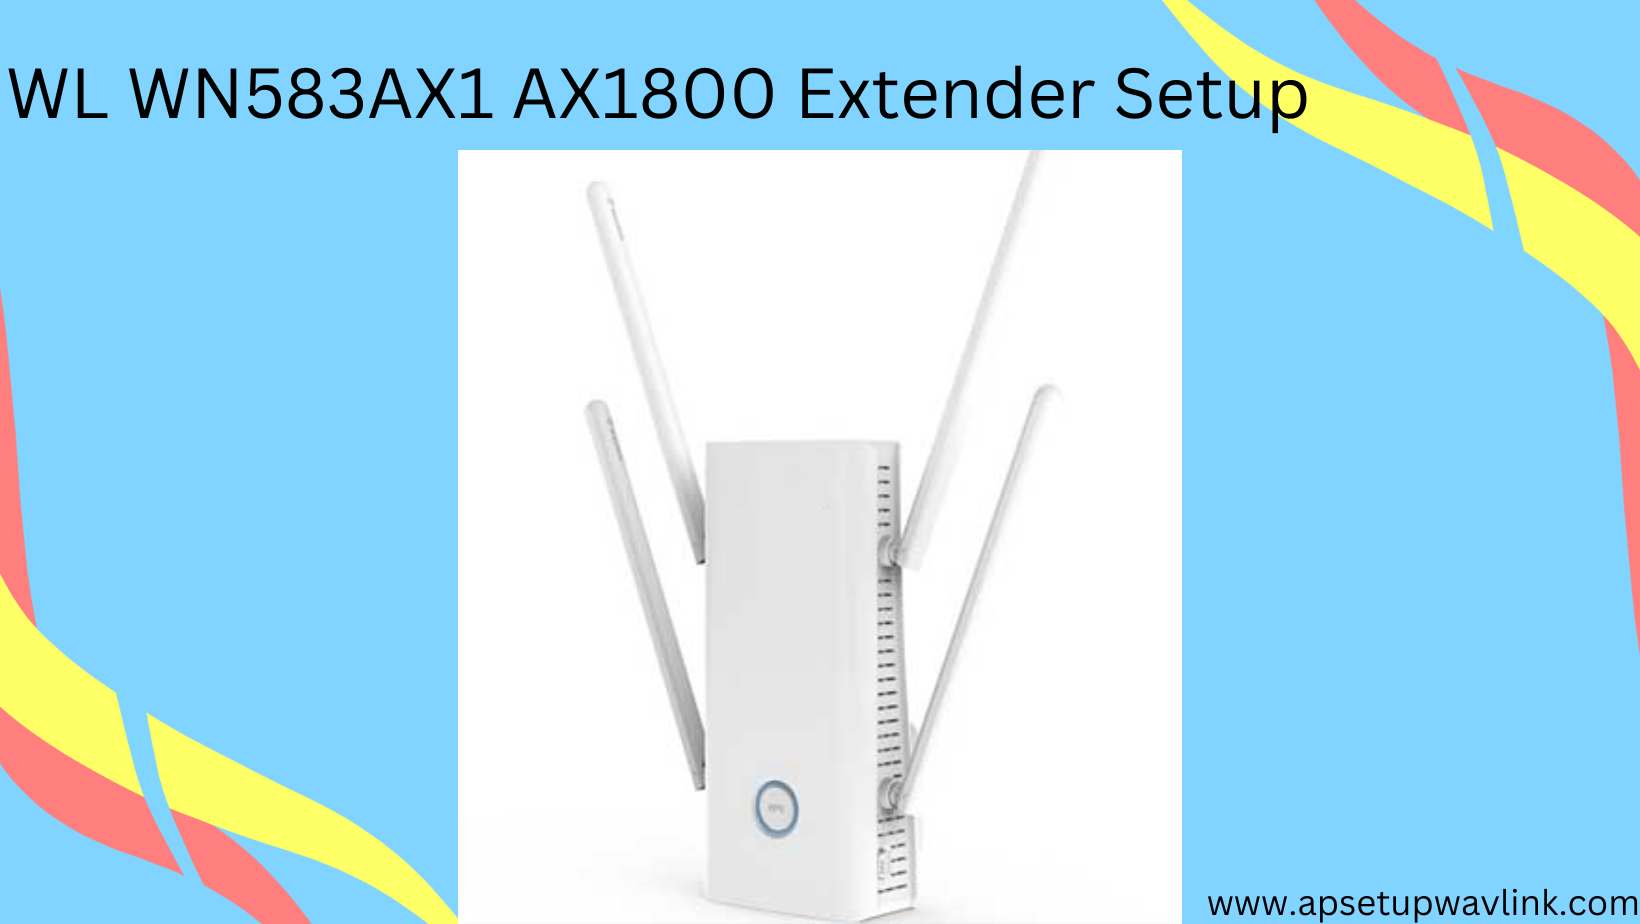
WL WN583AX1 AX1800 extender setup is part of the WiFi 5 extender setup series, designed to extend signals in areas with weak WiFi coverage. Once connected to your home router, it effectively amplifies signals, eliminating WiFi dead spots. An intriguing feature is the easy installation process, which can be accomplished using only the WPS button. However, to successfully complete the setup, it’s essential to familiarize yourself with the device’s basic requirements.
WL WN583AX1 AX1800 extender setup via WPS
Join the antennas on both sides of the WL WN583AX1 AX1800 extender as soon as you have it configured so that it is ready for configuration. Next, follow these remaining steps for WL WN583AX1 AX1800 extender setup .
- Connect the extender hardware properly and plug it into a power socket, then turn it on.
- Wait for the extender LED to display an ideal indication before plugging in the router.
- Position the router, extender, and your device close to each other.
- Press the extender’s WPS button on its front panel for at least 5 seconds.
- Within the next two minutes, locate and press the WPS button on the router.
- Monitor the LEDs to check the progress of the connection.
- After a few minutes, both devices’ LEDs will stabilize, indicating a completed connection.
- Finally, connect your devices to the network by selecting the appropriate one from the network list.
WL WN583AX1 AX1800 extender setup On Web
Use an alternative installation method if the WPS feature on your home router isn’t working properly.
- Plug the extender and router into power outlets.
- Connect your PC or laptop to the extender network, either wirelessly or with an ethernet cable.
- For a wireless connection, select the network from the list and enter the password.
- If using a wired connection, use an ethernet cable to connect the extender and device.
- Open a web browser on your device and access the setup page by entering the extender’s default web address or IP, such as “wavlink.com” or “192.168.10.1.”
- A login window will appear on your device’s screen.
- Enter the login credentials when prompted and click on Sign-In.
- Choose the network you want to extend or create a new SSID.
- Follow the on-screen instructions to complete the setup process.
Upgrade The Extender Firmware
In order to get the WL WN583AX1 AX1800 smooth working, keep its firmware version the latest. As a result, there will be no interruptions in the signals.
- Start by checking the current software version of the extender.
- Visit the web-based setup to find the latest version available.
- Ensure all devices are disconnected from the network, except for the PC.
- Download any available files and save them to your PC.
- Make sure to download the extender’s firmware file correctly.
- Access the web-based setup page again and upload the downloaded file.
- Once the new file is uploaded, initiate the Firmware Update process.
- Click on the option and allow the browser to complete the update process.
Troubleshooting Tips For Extender Errors
In any case, try these troubleshooting steps if your device repeatedly disconnects from the WL WN583AX1 AX1800 extender setup.
- Verify the electricity supply from the power sockets.
- If there is any malfunction, replace the power source outlets.
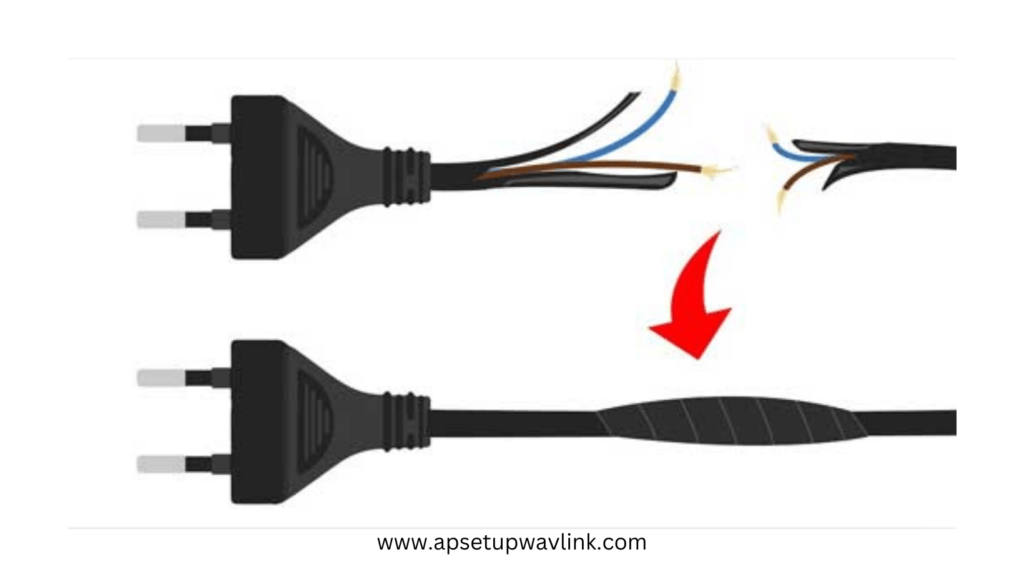
- Inspect the wired connection and ethernet wires.
- Replace any broken wires with new ones.
- Connect your device to the correct network and use the accurate password.
- Enter the extender’s correct web or IP address in the designated field.
- Adjust the extender placement to ensure it is within the router’s range.
- If needed, reset the extender.
Common Wavlink Extender Setups
WL WN518W2 N300 extender setup
Wavlink Aerial HD4 Outdoor Extender setup
Common issues during WL WN583AX1 AX1800 Extender Setup:
1 Power Supply Problems:
- Check if there is a stable power supply from the outlets.
- Replace malfunctioning power source outlets if necessary.
2 Wired Connection Issues:
- Inspect ethernet wires for any damage.
- Replace broken wires with new ones for a reliable connection.
3 Network Connection and Password:
- Ensure that your device is connected to the correct network.
- Use the accurate password for the network connection.
4 Incorrect Extender Address:
- Verify that the extender’s web or IP address entered during setup is correct.
5 Placement within Router’s Range:
- Adjust the extender placement to ensure it is within the effective range of the router.
6 Resetting the Extender:
- If facing persistent issues, consider resetting the extender according to the manufacturer’s guidelines.
FAQ’s : WL WN583AX1 AX1800 Extender Setup