The Wavlink WiFi 4 Extender Setup involves a range of Wavlink repeaters, including compact and portable mini extenders. The smoother the setup process, the more efficiently these extenders enhance signal coverage. Notably, installing any extender from this series is a straightforward task that doesn’t necessitate assistance from a technician or any specialized technical knowledge. To gain a deeper understanding of the products within this series, explore the following points.
Wavlink WiFi 4 Extender Setup Instructions
Upon purchasing any repeater model from the Wavlink 4 extender setup series, you will receive a setup manual included with the extender. This manual is a valuable resource containing essential information about the setup and other processes. It includes login credentials and the default web and IP address necessary for configuring the extender. Take a moment to review the guide to obtain accurate details about the product. If you find the information insufficient, feel free to contact our experts for further assistance.
Wavlink WiFi 4 Extender Setup
This WiFi 4 extender series product comes with a USB port installation method.
- Begin by unboxing and unwrapping the WL WN580N2 N300 extender setup.
- Retrieve the extender’s driver CD, an essential component for the setup process.
- Fix the extender into a working USB port on your PC or laptop.
- Insert the driver’s CD into the CD-DVD Rom of your PC.
- The setup window should appear on the PC screen; if not, manually access it from the settings.
- Click on the “Install Driver” option within the popup window.
- Grant permission to your PC to execute the installation process.
- Allow some time for the installation to complete; the process may take a while.
- Once the installation is finished, the extender will become operational, providing an enhanced internet speed
Wavlink WiFi 4 Extender Setup Pros
Surprisingly, Wavlink WiFi 4 Extender Setup into your space offers numerous advantages for your devices. Ensuring consistent connectivity with the highest internet speed is a notable benefit. Essentially, all four WiFi series extenders feature advanced technology that aligns with IEEE802.11a-b-g-n standards, enhancing overall performance. The WPS button configuration methods facilitate a quick and trouble-free installation process for users. Finally, it empowers users to eliminate WiFi dead zones by providing stable signals in those areas.
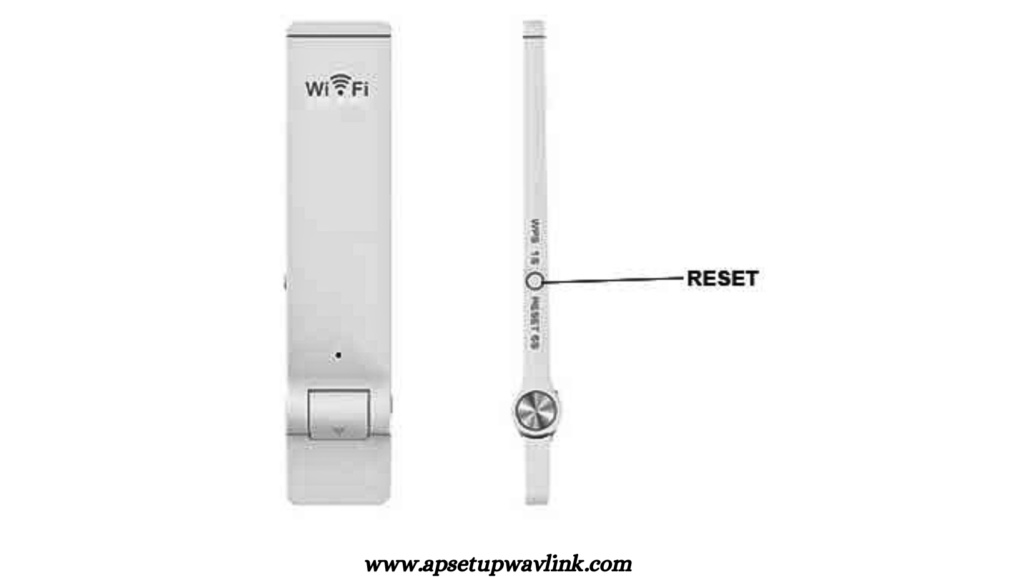
Wavlink WiFi 4 Extender Reset
- Initiate the Wavlink WiFi 4 Extender setup.
- Locate the reset button on the extender’s panel.
- Use a pointed object, like a paperclip
- Press the reset button.
- Keep the button depressed for a few seconds
- Release the reset button once the LED indicators show signs of resetting.
- Allow the extender a moment to complete the reset process.
- Subsequently, reconfigure the extender following the setup instructions provided.
Troubleshoot Wavlink WiFi 4 Extender Setup Errors
Without a doubt, there may occasionally be issues with the WiFi 4 extender setup. Apply these resolving tips to eliminate them shortly.
Solutions For WL WN580N2 N300 Extender Setup
- Begin by disconnecting the extender from the device for this repeater model.
- Allow the repeater to remain disconnected for a period of time.
- Subsequently, reattach the repeater to the PC port and reinstall the drivers if necessary.
- Follow the on-screen directions to seamlessly complete the configuration process.
- Finally, assess the extender’s performance after the configuration is complete.
Solutions For WL WN575HN2 N300 Extender Setup
- In this instance, confirm the strength of the connection by looking at the extender’s LED.
- Additionally, if a wired connection is available, check it out.
- Replace the plug on the WL WN575HN2 N300 extender setup after unplugging it.
- In addition, make sure the firmware on the extender is up to date.
- Consider placing the extender in a different area.
- Use the reset button on the extender’s panel to reset it.
- Give it a few seconds to reset itself after pressing the reset button.
- Following that, repeat the configuration because the extender’s settings will be lost.
Common Wavlink Extender Setups
- WL WN583AX1 AX1800 Extender Setup
- WL WN579A3 1200M Extender Setup
- WL WN575A4 AC1200 Extender Setup
- Wavlink Aerial HD4 Outdoor Extender setup
- WL WN518W2 N300 extender setup
Some Issues You Might Face while Wavlink WiFi 4 Extender Setup

- Encountering issues with Wavlink login
- Unable to access wifi.wavlink.com
- Troubleshooting my non-functional wifi repeater
- Investigating the malfunction of my wifi extender
- Issues with the non-operational Ethernet extender
- Troubles with the wifi extender password functionality
- Addressing problems with the Wavlink router’s functionality
- Facing difficulties connecting to the IP
- Resolving the Wavlink yellow light problem
- Addressing the Wavlink red light problem
Please get in touch with us if you need any assistance; we would be pleased to assist you. Call on our toll free number +1-323-471-3045
FAQ