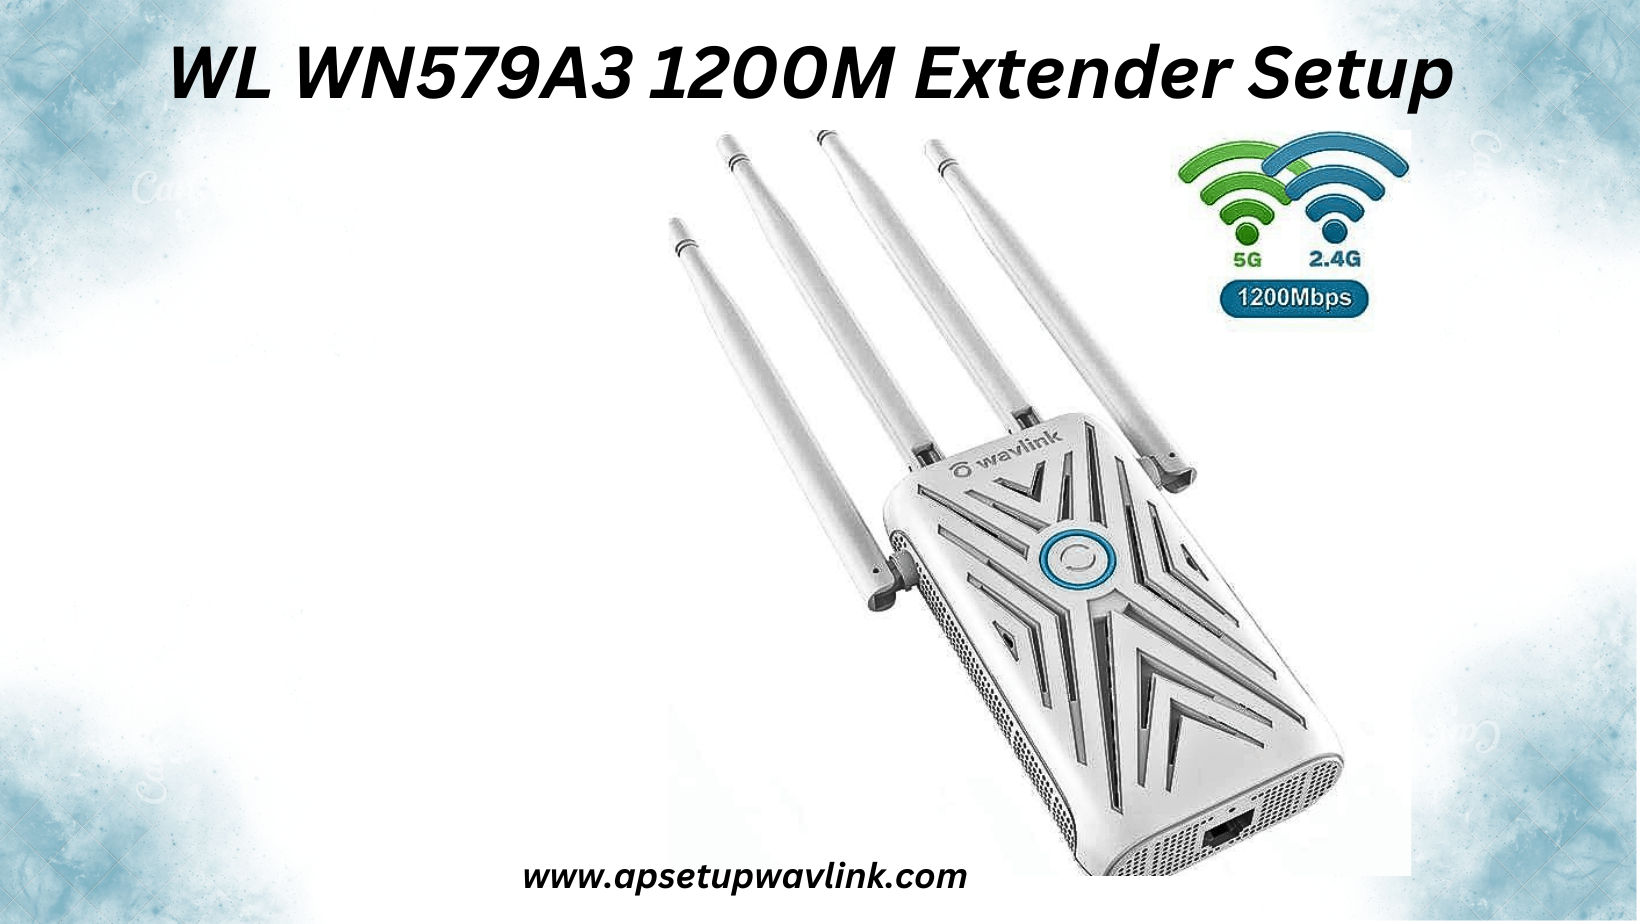
WL WN579A3 1200M Extender Setup is a Wavlink extender device designed to swiftly expand the range of WiFi signals. Here, you’ll find accurate and detailed information about this Wavlink extender product.
Unbox The WL WN579A3 1200M Extender Setup
When unboxing, you’ll find your Wavlink extender device along with a lengthy Ethernet cable. Additionally, the packed box includes a manual guide for WL WN573A3 1200M.
WL WN579A3 1200M Extender Setup Technical Features
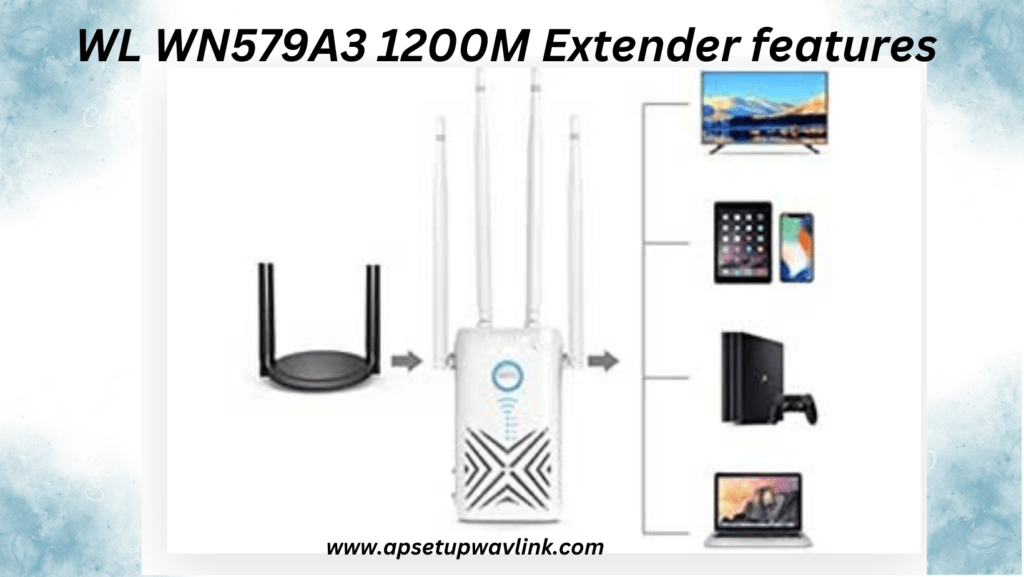
- Dual Frequency Bands: Supports dual frequency bands for a robust WiFi signal and broad coverage.
- High-Power Amplifier: The 1200M extender has a built-in high-power amplifier, easily penetrating walls for stronger WiFi connectivity.
- Easy Installation and Login: The process of installing and logging into the WL WN579A3 1200M WiFi extender is simple.
- Dual Bands: Operates on both 2.4GHz and 5GHz frequency bands for versatile connectivity.
- External Antennas: Equipped with four external 5dbi antennas for improved signal strength.
- Wireless Security: Implements WPA-PSK/WPA2-PSK, providing two wireless security encryptions for enhanced protection.
Login Into WL WN579A3 1200M Extender
The login process for this Wavlink extender device is straightforward, allowing you to complete it quickly on your own.
- Start by connecting the extender to your mobile phone.
- Attach your mobile phone to the Wavlink_EXT network.
- Open the browser on your WiFi-connected device and enter the web address in the search bar.
- After completing the above steps, the login page will appear on your display.
- Fill in the credentials displayed on the login page, including the username and security password.
- If you’re unsure about the credentials, check the label or the bottom of your device.
The WL WN579A3 1200M Extender Setup Procedure
Through three methods you can easily do the WL WN579A3 1200M Extender Setup process of the Wavlink extender.
- By pressing the WiFi Protected System button.
- Through an ethernet cable.
- Using the Web UI.
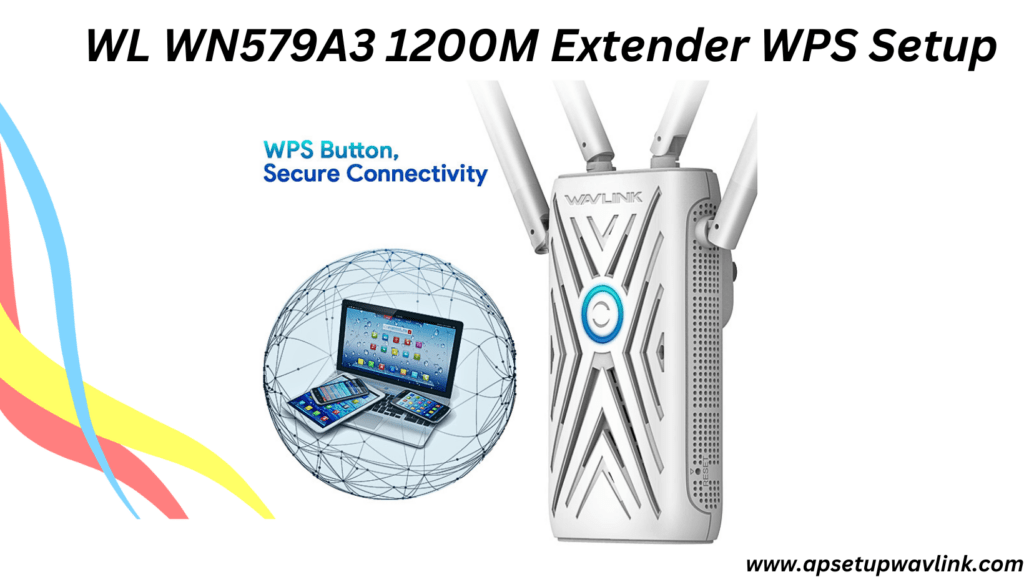
WL WN579A3 1200M Extender Setup By WPS Button
Examine the following steps to WL WN579A3 1200M Extender Setup using the WPS button.
- Start by plugging your Wavlink extender device into an electrical socket.
- Utilize the Wavlink extender device’s WPS button.
- Shortly after, press the WPS button on the host router device.
- Wait for a while to observe a solid blue LED on both the extender and router devices.
- Once the solid blue LED is visible, it indicates the completion of the setup process between the extender and router.
WL WN579A3 1200M Extender Setup Manually
WL WN579A3 1200M Extender Setup via manual method involves the following steps:
- Start by obtaining a lengthy Ethernet cable.
- Connect one end of the Ethernet cable to an extender Ethernet port.
- Attach the other end of the cable to the router’s Ethernet port.
- Ensure that your existing router is connected to the WiFi device.
- Disconnect the extender power plug from the wall socket.
- Wait for 2 to 3 minutes to observe a solid blue LED on both the extender and router devices.
Finally, the main router and your WL WN579A3 1200M extender setup have been successfully linked with each other during the configuration process.
WL WN579A3 1200M Extender Setup Via Web UI
- Start by plugging your Wavlink extender power plug into an electrical socket.
- Use the cable provided with the Wavlink extender gadget.
- Attach your Wavlink WiFi extender to a computer using an Ethernet cable.
- Enter the web or IP address ie 192.168.10.1
- After inputting the on-screen details, you’ll see the configuration link on your display.
- Follow all the setup details step by step to complete the process.
Note: If you experience any problems with the WL WN579A3 1200M extender after setting it up, refer to the below troubleshooting advice for all types of problems.
- Confirm all cable connections linked to your Wavlink extender.
- Upgrade the hardware and firmware of your Wavlink WiFi extender.
- Review the placement of your Wavlink WiFi extender device.
- Avoid placing your extender and router near metal objects.
- Reset your WL WN579 1200M extender setup device.
WL WN579A3 1200M Extender Firmware Update:
Updating the firmware for the WL WN579A3 1200M Extender involves the following steps:
- Access the extender’s web-based setup page.
- Navigate to the “Firmware Update” section within the interface.
- Download from the manufacturer’s website, If a new firmware version is available.
- Upload the downloaded firmware file through the extender’s interface.
- Initiate the firmware update process and allow it to run to completion.
- Ensure a stable internet connection
- Once the update is finished, the WL WN579A3 1200M Extender will be operating with the latest firmware, potentially enhancing performance and addressing compatibility issues.
WL WN579A3 1200M Extender Factory Reset:
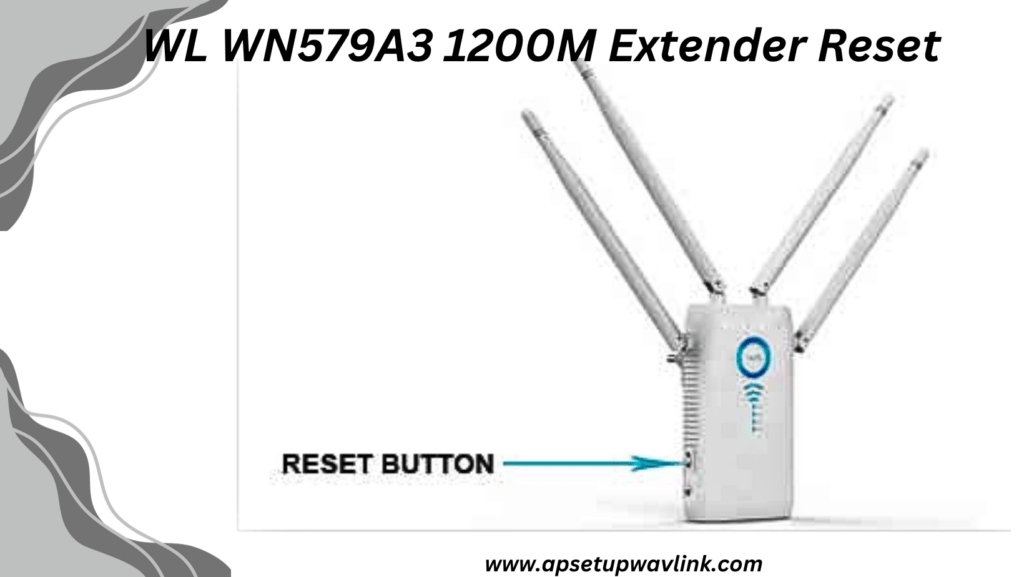
Performing a factory reset on the WL WN579A3 1200M Extender:
- Locate the reset button on the extender device.
- Press and hold the reset button.
- Hold the button for approximately 10 seconds until you observe the LEDs blinking.
- Release the reset button to complete the factory reset process.
- Reconfigure the extender by following the initial setup process.
- This action is useful for resolving issues or restoring the extender to its original state.
Note: Following the reset procedure, you will need to reconfigure the extender. If you have any questions after going through this entire page, feel free to chat with our technical team experts. They will assist you in resolving any extender-related issues efficiently, ensuring minimal time is spent on troubleshooting.
Some Issues You Might Face during WL WN579A3 1200M Extender Setup
- Wavlink login issues
- Wifi.wavlink.com not functioning
- Troubleshooting for non-functional WiFi repeater
- Identifying reasons for WiFi extender malfunction
- Issues with Ethernet extender functionality
- Troubleshooting WiFi extender password problems
- Wavlink router not operational
- Unable to connect to IP address
- Resolving Wavlink yellow light indicator problems
- Addressing Wavlink red light indicator problems
Common Wavlink Extender Setups
- WL WN518W2 N300 extender setup
- Wavlink AC3200 Extender setup
- Wavlink Aerial HD4 Outdoor Extender setup
- Wavlink WiFi 6 Router Setup
- Wavlink WiFi5 extender Setup
- Rockspace AX1800 Firmware Update
- WEBJD Wireless Extender Troubleshooting Tips
- Netfun WiFi extender setup Troubleshooting Tips
- Slow internet connection with Wavlink extender
Some Problems You May Experience while WL WN579A3 1200M Extender Setup
The following issues could come up while WL WN579A3 1200M Extender Setup
- Problems with the Electrical Connection
- Issues with Network Connections
- Issues with Setup
- Problems with Web Interface Access and Update Firmware
- Issues with Placement and Range
- Problems Connecting the Device
- Issues with Signal Strength and Interference:
- Problems with WPS Configuration
- Problems with the Security Configuration
- issues with the wireless security setup of the extender.
Check for firmware updates, carefully follow the setup instructions in the user manual, and make sure the extender is positioned correctly for optimal results in order to overcome these challenges. Should problems persist, you may wish to contact technical support for assistance.
FAQ