Are you fed up with struggling with poor Wi-Fi signals and areas of no connectivity in your home or workplace?
Say goodbye to frustrating internet connections and hello to seamless connectivity with the Wavlink Extender. This powerful device is designed to extend your wireless network range, ensuring that every corner of your space is covered with a strong and reliable signal.
In this blog post, we will guide you through the process of Wavlink Extender Setup Using Web Portal. Whether you’re a tech-savvy individual or not-so-techy person, we’ve got you covered! With our step-by-step instructions and troubleshooting tips, you’ll have your extender up and running in no time. So let’s dive right in and discover how to effortlessly Wavlink Extender Setup Using Web Portal!
Table of Content
- Introduction to Wavlink Extender
- Benefits of Using a Wavlink Extender
- Step-by-Step Guide to Setting Up Your Wavlink Extender
- Tips for Maximising the Performance
- Read More
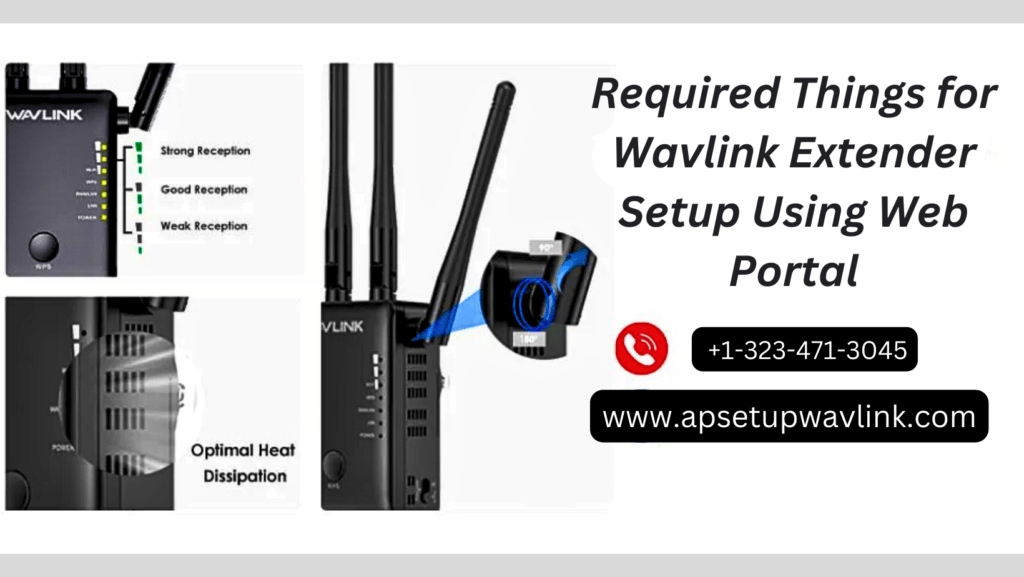
Required Things for Wavlink Extender Setup Using Web Portal
To ensure a smooth Wavlink Extender Setup Using Web Portal, there are a few things you’ll need to have on hand.
- Make sure you have internet connection.
- Next, locate an ethernet cable as it will help establish a wired connection between your router and the extender during the initial setup.
- Furthermore, check that you have the necessary login credentials for your existing Wi-Fi network.
- You’ll need these details later on to connect your Wavlink Extender to your network seamlessly.
- Don’t forget to find an optimal location for placing your extender where it can receive and amplify signals effectively.
- By gathering these essential elements before starting the setup process, you’ll eliminate potential hiccups along the way and ensure a hassle-free experience in Wavlink Extender Setup Using Web Portal.
Introduction to Wavlink Extender
Are you frustrated by weak Wi-Fi signals and areas with no coverage in your home or office? Look to the Wavlink Extender for the solution! This remarkable device is crafted to enhance your current Wi-Fi network, delivering a more robust and dependable connection.
- The Wavlink Extender works by picking up your existing Wi-Fi signal and amplifying it, extending its range throughout your space.
- Whether you’re in the basement or on the top floor, this extender ensures that every corner of your home is covered with fast and stable internet connectivity.
- With its sleek design and easy setup process, the Wavlink Extender is perfect for both tech-savvy individuals and those who are less familiar with networking devices.
- By simply connecting your computer or mobile device to the Wavlink Extender’s network, you can access the user-friendly web portal where all configuration options are available at your fingertips.
- Not only does the Wavlink Extender provide seamless connectivity throughout your space, but it also offers other benefits that make it stand out from competitors.
- Furthermore, the Wavlink Extender supports both 2.4GHz and 5GHz bands simultaneously. This means that regardless of which band your devices support or prefer using – they will always have optimal performance when connected to this extender.
In addition to expanding coverage and enhancing compatibility, another key feature of the Wavlink Extender is its ability to create a separate guest network. This allows visitors or temporary users to connect to the internet without accessing your primary network, ensuring better security and privacy. you can do setup even from wps, manual or Wavlink Extender Setup Using Web Portal
Benefits of Using a Wavlink Extender
- A Wavlink extender is not just another gadget in your home; it comes with numerous benefits that can greatly enhance your internet experience.
- One of the major advantages is its ability to extend and amplify the Wi-Fi signal throughout your entire house or office, eliminating dead zones and ensuring a strong and stable connection no matter where you are.
- With a Wavlink extender, you can say goodbye to frustrating buffering while streaming movies or videos.
- It provides fast and reliable internet speeds, allowing you to enjoy uninterrupted entertainment without any lagging or interruptions.
- Another benefit of using a Wavlink extender is its ease of use. Setting up the device is incredibly simple, thanks to the user-friendly web portal interface.
- You don’t need any technical expertise or complicated instructions; just follow a few easy steps and you’ll be connected in no time.
- Moreover, with features like dual-band connectivity, advanced security protocols, and compatibility with various router models, Wavlink extenders provide an all-in-one solution for improving your network coverage.
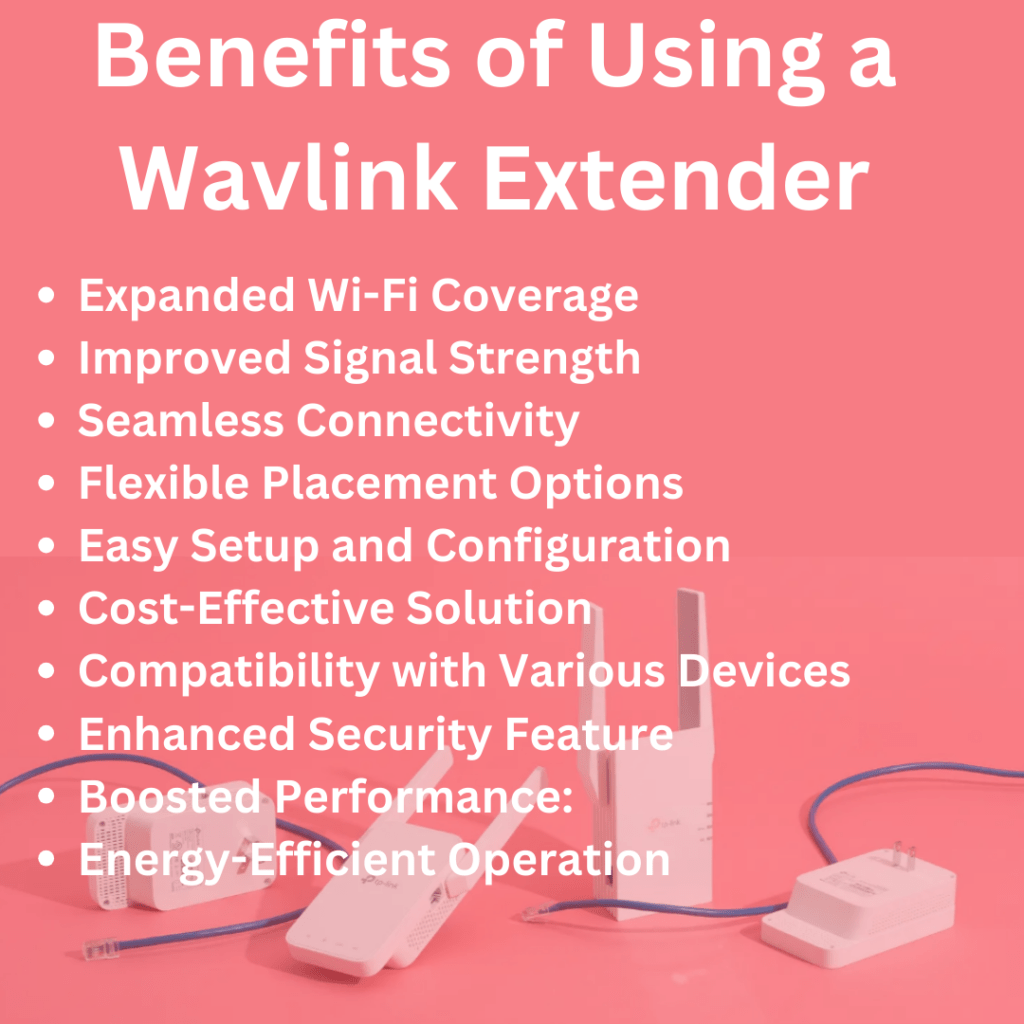
In addition to these benefits, using a Wavlink Extender Setup Using Web Portal can also help save money by reducing the need for additional routers or expensive internet service upgrades. By simply amplifying your existing Wi-Fi signal, this device allows multiple devices in your home or office to connect simultaneously without sacrificing speed or performance.
Investing in a Wavlink extender offers an array of advantages that enhance productivity at work and improve online experiences at home. With fast speeds, wide coverage range,and easy setup process,the benefits truly speak for themselves!
Step-by-Step Guide to Setting Up Your Wavlink Extender
Wavlink Extender Setup is a breeze when you follow these simple steps. First, make sure you have all the necessary equipment on hand: your Wavlink Extender, a computer or mobile device with internet access, and an existing Wi-Fi network.
- To begin the setup process, plug in your Wavlink Extender to a power outlet within range of your existing Wi-Fi network.
- Once it’s powered on, connect your computer or mobile device to the extender’s default Wi-Fi network. This will typically be labelled as “Wavlink” followed by a series of numbers.
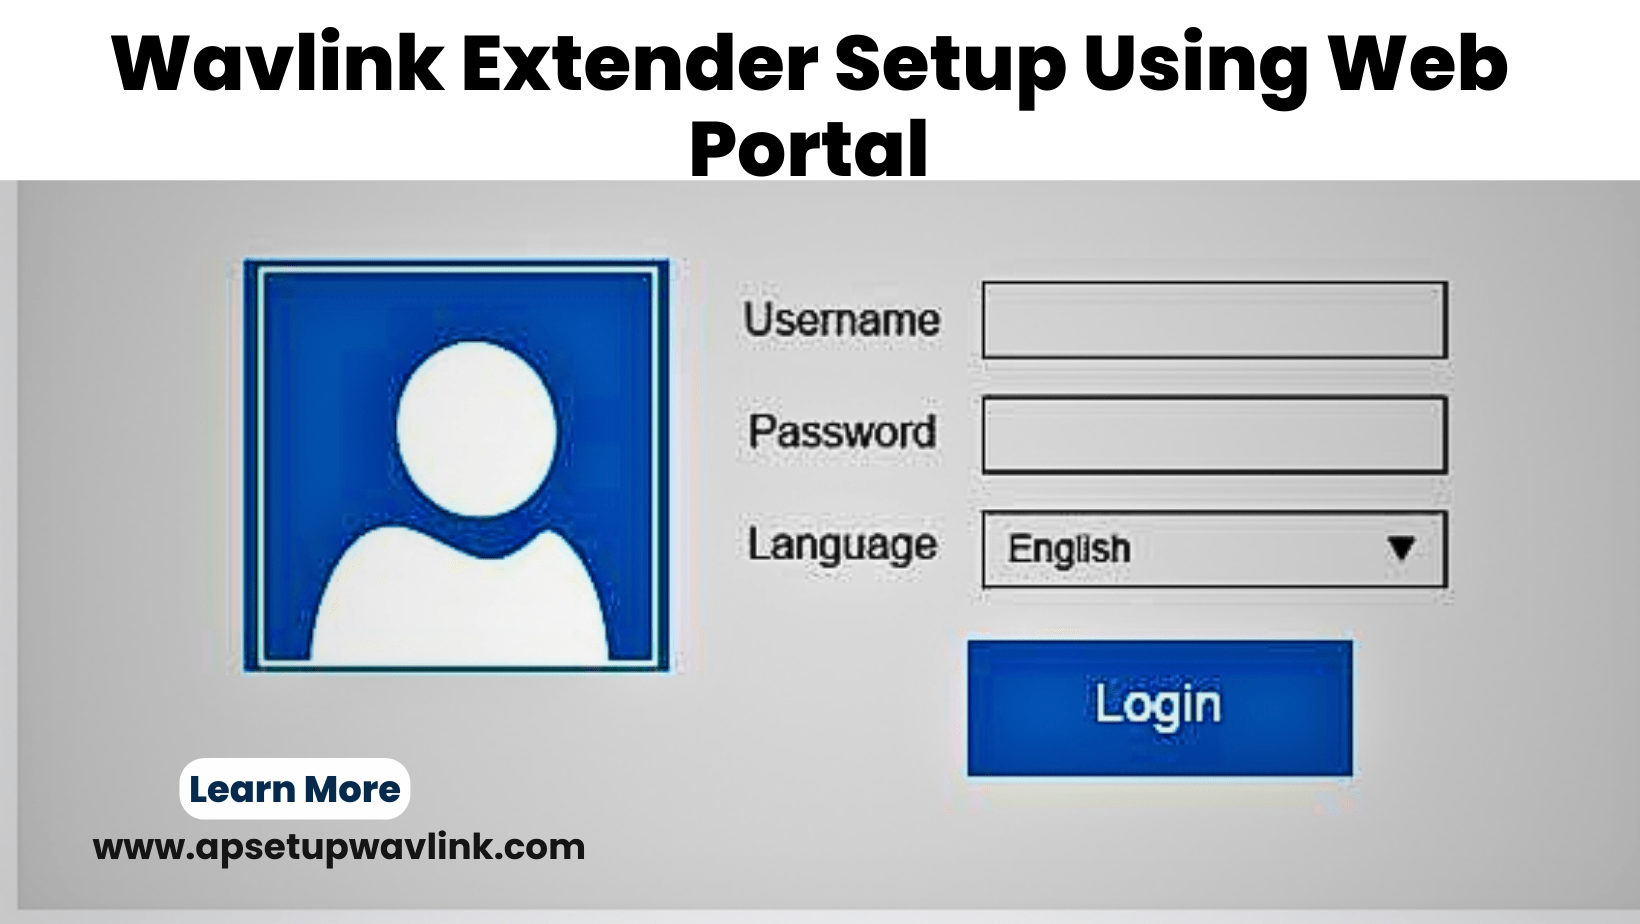
- Once connected to the extender’s network, open a web browser and enter “192.168.10.1” into the address bar.
- This will take you to the web portal for configuring your Wavlink Extender.
- You’ll be prompted to create a login password for accessing the extender’s settings in future visits.
- Choose something secure but easy for you to remember.
- Next, select your existing Wi-Fi network from the list provided and enter its password when prompted.
- The extender will then establish a connection with your router.
- After successfully connecting to your router, you can customise additional settings such as changing the extended network name (SSID) or adjusting security preferences if desired.
- Once you’ve completed these steps, click “Apply” or “Save” to save your changes and complete the setup process. Your Wavlink Extender should now be configured and ready to provide extended coverage throughout your home or office space!
Remember that this step-by-step guide is meant as a general overview of setting up a Wavlink Extender Setup Using Web Portal. Specific instructions may vary depending on model and firmware version.
Troubleshooting Common Issues while Wavlink Extender Setup Using Web Portal
- Wavlink Extender Setup Using Web Portal is usually a smooth and hassle-free process. However, like any technology, there may be some common issues that you could encounter along the way. Don’t worry though, as these problems can easily be resolved with a few simple steps.
- One common issue you might face is difficulty connecting to your Wavlink Extender’s web portal.
- If this happens, double-check that you are connected to the extender’s network and try accessing the web portal again. You may also need to clear your browser cache or try using a different browser.
- Another issue you might come across is weak or unstable Wi-Fi signal after setting up your Wavlink Extender.
- In this case, make sure that the extender is placed in an optimal location where it can receive a strong wireless signal from your router. You should also ensure that there are no physical obstructions such as walls or furniture blocking the signal
- If you’re experiencing slow internet speeds despite having successfully set up your Wavlink Extender, it could be due to interference from other electronic devices or neighbouring networks.
- Try changing the channel on your extender’s settings page to minimise interference and improve performance.
- In some cases, you may encounter difficulties when updating the firmware of your Wavlink Extender.
- To resolve this issue, make sure you have downloaded the correct firmware version for your specific model and follow the instructions provided by Wavlink carefully.
Remember, if all else fails and you’re still encountering issues with your Wavlink Extender Setup Using Web Portal or performance, don’t hesitate to reach out to their customer support team for further assistance.
Tips for Maximising the Performance of Your Wavlink Extender Setup Using Web Portal
- Find the optimal placement: The location of your Wavlink extender plays a crucial role in ensuring strong and reliable Wi-Fi coverage throughout your home or office. Experiment with different positions to find the sweet spot where you get maximum signal strength.
- Upgrade your router: While a Wavlink extender can enhance the range of your existing network, it’s important to have a good quality router as well. Upgrading to a newer model with advanced features can greatly improve overall performance.
- Keep firmware up to date: Regularly check for firmware updates for both your router and extender. These updates often include bug fixes, security enhancements, and performance improvements that can significantly boost the efficiency of your devices.
- Secure your network: Setting up password protection on both your router and extender is essential to prevent unauthorised access and ensure optimal performance. Be sure to use a strong, unique password that is not easily guessable.
- Avoid interference: Other electronic devices like cordless phones, baby monitors, or microwave ovens can interfere with Wi-Fi signals. Keep these devices away from your router and extender to minimise potential disruptions.
- Adjust channel settings: If you’re experiencing slow speeds or dropped connections, try changing the channel settings on both your router and extender. This can help alleviate congestion caused by neighbouring networks operating on the same channel
- Optimize antenna positioning: If applicable, make sure that the antennas on both your router and extender are positioned correctly for maximum coverage in all directions.
By following these tips, you’ll be able to maximise the performance of your Wavlink Extender Setup Using Web Portal