Can’t connect to 192.168.10.1, Experiencing challenges? To a widely used default IP address for routers and network devices, can indeed be a frustrating situation. The causes for this problem can be diverse, and the initial step in addressing it involves gaining insights into the potential reasons. Let’s delve into a set of troubleshooting measures aimed at assisting you in Can’t connect to 192.168.10.1
Due To Entering an Invalid IP Address :Can’t connect to 192.168.10.1
- Entering an IP address manually into the web browser’s location bar can be challenging, as any variation or unintended character may redirect you to a different page.
- To avoid this issue, a simple solution is to copy and paste the correct IP address into the browser’s location bar.
- This ensures accuracy and eliminates the risk of landing on an unintended webpage.
- Double-check to confirm that the pasted IP address is accurate before proceeding.
Because The Ethernet Cable Was Lost
Before attempting to access the 192.168.10.1 admin panel on many routers, a physical connection is often necessary. If you are experiencing issues such as “Can’t connect to 192.168.10.1,” the most common method to establish this connection is through Ethernet wires.
Attaching your computer to the router in this way is a straightforward and quick process, taking only a few seconds. This physical connection is crucial for troubleshooting and configuring router settings through the admin panel.
Can’t connect to 192.168.10.1 because of a malfunctioning router.
If, despite attempting the aforementioned suggestions, you still encounter issue like Can’t connect to 192.168.10.1, there’s a chance that your router might be malfunctioning. Any missing components or issues with the intricate device could lead to complications. For a resolution to this matter, please reach out to us for further assistance.
What Does An 192.168.10.1 IP Address Do?
The IP address serves as a means through which you can effortlessly initiate the setup process for the Wavlink router and configure various network devices. These devices may encompass webcams, VOIP telephones, and DVRs.
What Is The Use Of 192.168.10.1 IP Address?
There are more than 26 billion gadgets linked to the internet today. Hence, from 26 billion only 4 billion IP addresses are accessible. It is not that those devices linked to the internet do not have their own IP address.
Furthermore, there is no other way to identify the devices on a network except by their IP address. The internet assigned the number authority in order to determine IP exhaustion. However, an overseeing American non-profit provided a universal remedy in the form of a private IP address. Everybody has an IP address, and your host router uses the private IP address.
What Is Private IP Address 192.168.10.1?
The key differentiator between private and public IP addresses lies in access limitations. A public IP address operates without stringent protocols, while a private IP address may present more challenges.
By implementing the three tips mentioned above, we anticipate that your difficulty in connecting to 192.168.10.1 has been resolved. If the issue persists, you also have the option to log in to the Wavlink router using a web address.
How To Login Into Wavlink Router Via Web Address
To initiate the login process for the Wavlink router, follow these steps:
- Begin by connecting your computer to the router using an ethernet cable.
- Alternatively, establish a wireless connection by selecting the router’s SSID and entering the password found on the router’s tag.
- Open Google Chrome on your computer or laptop and type wifi.wavlink.com in the URL bar.
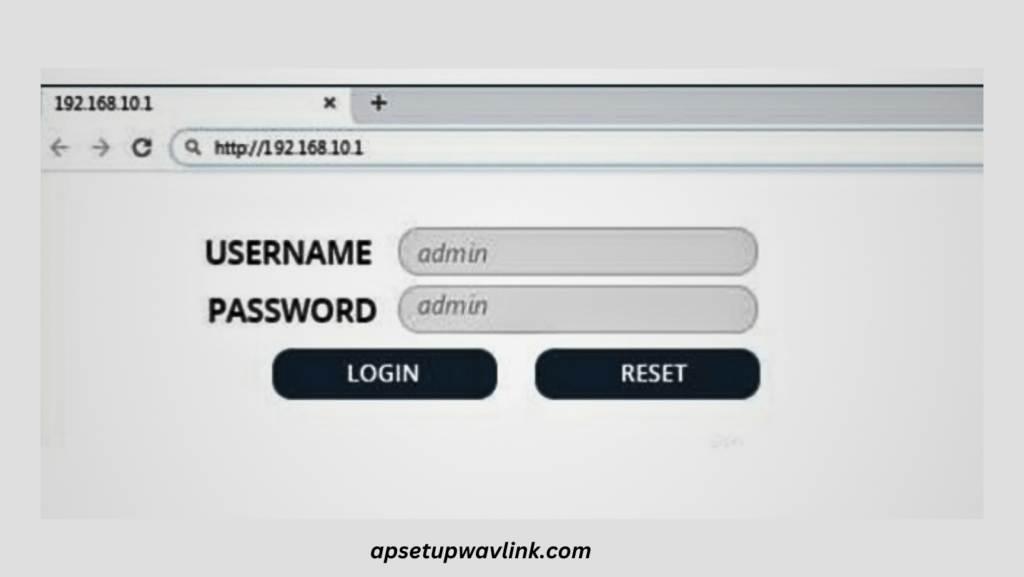
- Choose your preferred language, then input “admin” for both the username and password.
- Finally, click on “login.”
- By completing these three steps, you will successfully log in to the Wavlink router.
How To Configure Router Or Extender?
To begin setting up the Wavlink router, follow these steps:
- Connect the router’s WAN port to the internet.
- Plug the power adapter of the Wavlink router into an electrical socket.
- Turn on your WiFi and locate the SSID name.
- Allow a few minutes for the installation process to commence.
- For this method, ensure you have a long ethernet cable.
- Open Google Chrome on the device connected to WiFi.
- Type wifi.wavlink.com in the address bar.
- Enter the username and security passcode in the provided fields.
- Follow the on-screen instructions step by step to complete the configuration process.
- By following these steps, you will successfully set up and configure your Wavlink router.
Configure Wavlink Extender By WPS Method
To initiate the connection between your Wavlink extender and host router, follow these steps:
- Begin by plugging the power adapter of the Wavlink extender into a power socket.
- Ensure the Wavlink extender is positioned in close proximity to the host router.
- Press the WPS button on the router.
- Within two minutes, press the WPS button on the Wavlink extender.
- Wait for a few minutes until a solid blue LED appears on both devices.
- Consequently, the extender and router are now successfully linked with each other.
- By following these steps, you establish a successful connection between your Wavlink extender and the host router.
Configure Wavlink Extender By Manually
The steps below will help you set up your Wavlink extender:
- Position your extender near the modem or router.
- Wait for a solid light to appear on the extender device.
- Connect any WiFi-enabled device, such as a laptop, computer, or mobile phone.
- Connect your WiFi to Wavlink_EXT network.
- Open your browser and enter the web address of the Wavlink device, wifi.wavlink.com, in the search bar.
- Enter the credentials to access the login page.
- The new Wavlink extender setup page will then appear on your display.
- Follow all the on-screen instructions to connect your Wavlink extender to the router.
By following these steps, you can successfully set up and connect your Wavlink extender to enhance your network coverage.
Some Troubleshooting Tips to Fix Errors: Can’t connect to 192.168.10.1
- Check the distance between the router and the extender.
- Take note of where the extender is positioned.
- Update the Wavlink Extender program.
- Check every connected wire.
If the extender problem persists after attempting these fixes, factory reset the Wavlink WiFi extender.
Read More