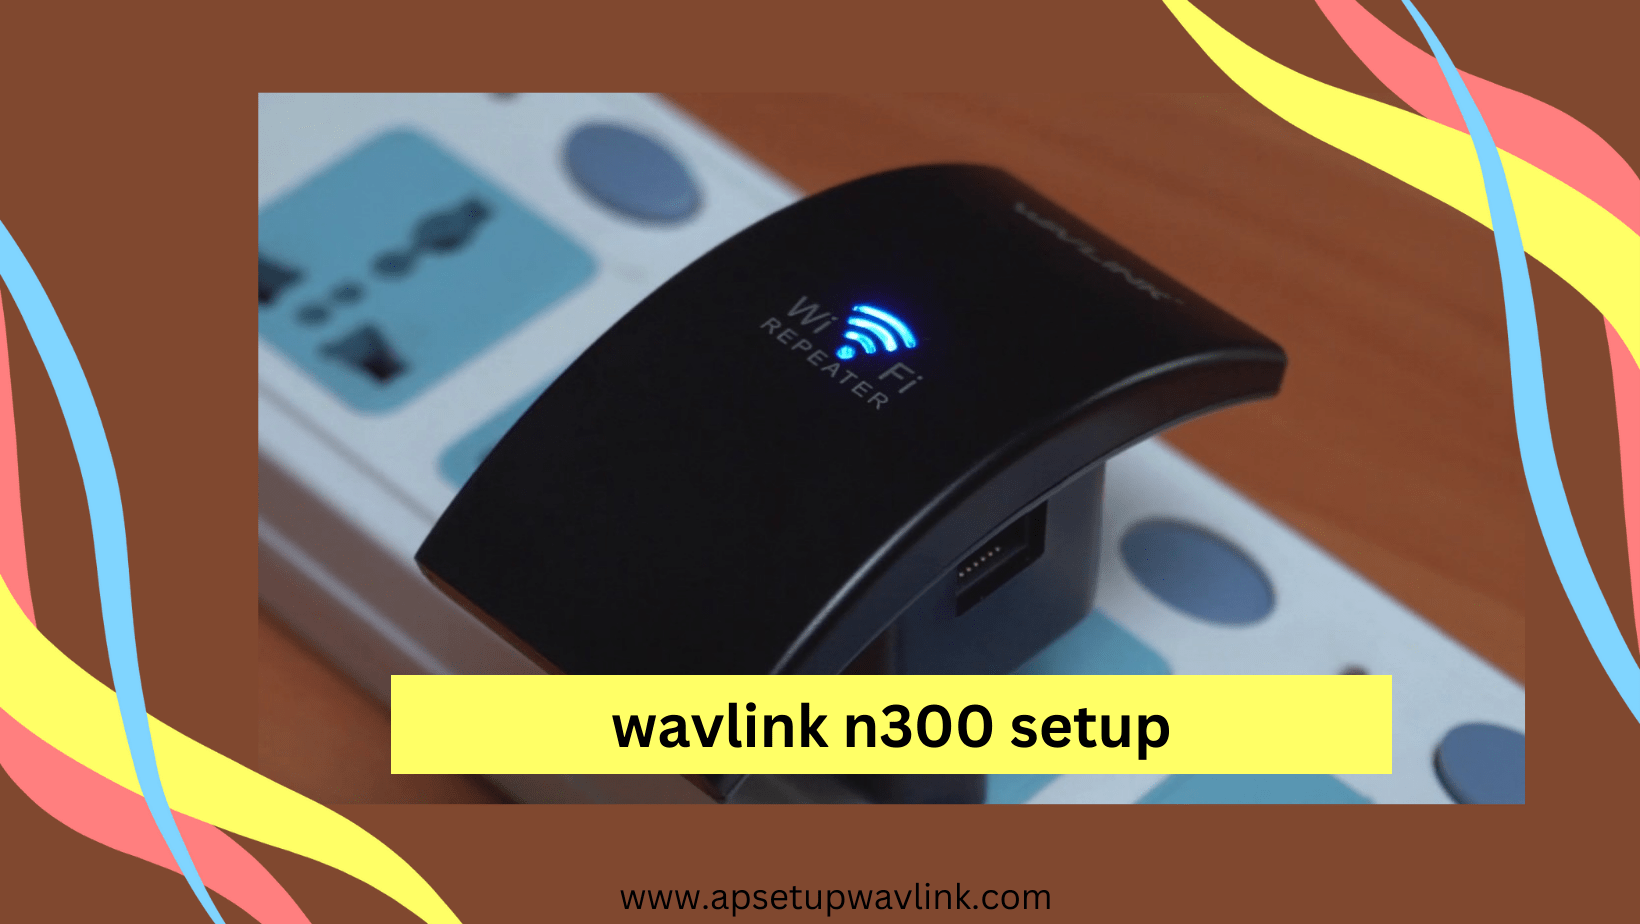
Completing the Wavlink N300 setup process brings numerous advantages, including a stable internet signal, the ability to achieve optimal internet speeds, and the elimination of WiFi dead spots in your area. While you can independently install this device, it’s recommended to first gain a comprehensive understanding of the configuration process. For a straightforward setup, carefully read and follow the provided directions.
Pre-Requirements For Wavlink N300 Setup
Keep the following requirements ready before beginning the Wavlink N300 setup process in order to complete the Wavlink N300 wifi range extender setup. Examine each item on this list.
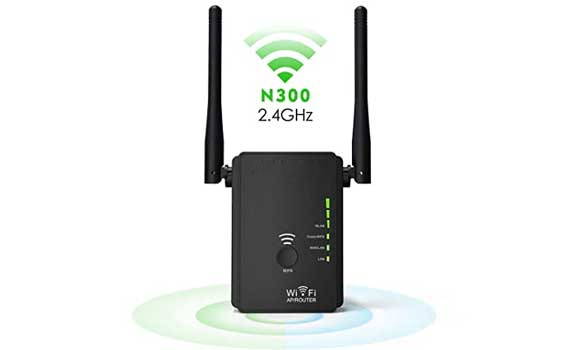
- First and foremost is the N300 extender.
- Also, its login credentials and web or IP address ie 192.168.10.1
- Your existing router and access to the internet.
- Further, any device containing a web browser.
- Lastly, an electrical power socket.
Do Wavlink N300 Setup Through WPS
Utilize these instructions to perform the process.
- Upon acquiring the N300 extender, plug it into an electrical socket.
- Ensure that the extender is positioned near the router to establish a strong connection.
- After a few seconds, the extender will become available for connection.
- Subsequently, press and hold the extender’s WPS button until the LED changes color.
- Within the next two minutes, press the router’s WPS button.
- When the LEDs on both devices display indications, it signifies that the process is in progress.
- Now, leave both devices undisturbed for some time to allow them to complete the process.
- In the end, the LEDs on both devices will become constant with a solid color.
The Wavlink N300 setup will therefore be configured and prepared for connection in this manner. Now, connect your devices to the extender and enjoy the highest internet speed.
Wavlink N300 Configuration Through Internet Browser
You can use an alternative method if your current router’s WPS button is broken or malfunctioning. For the Wavlink N300 setup, this method will require you to use and access any web browser on your device.
- Begin by plugging in the Wavlink N300 device and wait until it’s ready for configuration.
- Using any device, open a web browser before proceeding.
- Before moving to the next step, connect the device to the Wavlink network.
- Subsequently, search for the extender’s default web or IP address in the search panel, which is either wifi.wavlink.com or 192.168.10.1.
- Type either of them and press enter to access the sign-in page.
- The sign-in page will appear, prompting you to fill in the login details.
- Insert “admin” as both the username and password in the required fields during the sign-in process.
- Once signed in, navigate to the network list on the subsequent page.
- Select the network you wish to extend and proceed to complete the Wavlink N300 Setup.
Wavlink N300 Setup On The App
The Wavlink app is the alternative method for setting up the Wavlink N300 in addition to those two methods. In contrast to those two methods, this one requires you to download the Wavlink app to your device.
- Once your device is connected to the network, open its official app store.
- If you’re using an Android device, use the Google Play Store; for iOS devices, open the Apple App Store.
- Download the Wavlink app, allowing your device to install it, and open it afterward.
- Ensure you select the official and latest version of the app.
- After installation, proceed with the login on the next page by agreeing to the app’s terms and conditions.
- Upon successful login, the Wavlink N300 setup page will appear on the next screen.
- From this page, choose the N300 network and click “extend” after entering its default password.
- Finally, connect your other devices to the network by selecting its wireless network from the available list.
Consider These Points For Better Performance
Equally crucial for achieving a flawless Wavlink N300 setup, consider these essential factors to ensure an uninterrupted signal consistently. Firstly, verify the extender LED to assess its performance and connection strength, ensuring the light displays an optimal color.
Moreover, avoid placing the extender either too close or too far from both the router and connected devices. Additionally, ensure the accuracy and functionality of the wireless network and Ethernet cable used for the connection. Experiment with different locations and web browsers to thoroughly assess the performance of the Wavlink extender.
Update Firmware File
The firmware update for the extender is unquestionably a key component in its faultless operation. Go to the Wavlink N300 setup page and make the necessary update checks to accomplish this.
- Start by verifying the extender’s current firmware version and ensure you have the latest version.
- Download the corresponding new firmware file based on the Wavlink extender model number.
- Access the Firmware Update option and upload the downloaded file.
- Initiate the updating process after uploading the file, ensuring the PC remains powered on.
- Allow the PC to complete the update process before proceeding.
- After the process is finished, reboot both the PC and the extender.
- The Firmware Update is now complete, and the extender is ready for connection
Reboot The N300 Extender
If you encounter issues with the extender’s network, consider rebooting the device. Before initiating this process, attempt to verify other factors such as the extender’s placement, potential signal interference, connection strength, and advanced settings. Make necessary adjustments in these aspects if required. If the error persists, proceed with power cycling.
To power cycle the extender, unplug it from the power socket and leave it disconnected for a few minutes. Afterward, choose an alternative socket and location for the extender. Observe the extender’s LED indicators to ensure proper functioning, and subsequently, reconnect your devices to it. Following these steps will help resolve Wavlink N300 setup errors efficiently.
Reset The Extender
Resetting and reconfiguring the extender is the other infallible way to fix its errors. To accomplish this, wait for the process to finish while pressing and holding the reset button located on the side or back panel. After completing the reset, repeat the Wavlink N300 setup procedure. Select a procedure from those options, then carefully carry it out using the setup information exactly as directed.
Read More
Rockspace AX1800 Firmware Update
WEBJD Wireless Extender Troubleshooting Tips