Recently acquired a Wavlink AC3200 Extender setup kit? Fantastic choice! This decision is bound to elevate your browsing and online streaming experiences. However, to fully unlock the potential of your new Wavlink extender, you need to successfully complete the Wavlink AC3200 Extender setup. It’s a crucial step that must be executed accurately to ensure optimal performance.
If you’re not familiar with the Wavlink AC3200 Extender setup process, no need to worry! We’re here to offer dedicated support for Wavlink AC3200 extender setup. While we’ve provided some relevant details about the setup on this page for your convenience, our support team is also available to provide quick and efficient technical assistance whenever you need it. Congratulations on your new device, and we’re here to ensure you get the most out of it!
Wavlink AC3200 Extender Review
The Wavlink AC3200 (Quantum DAX/WL-WN538A8 AC3200) is renowned for delivering an unparalleled online streaming, gaming, and video conferencing experience. As a premium-quality WiFi extender, it boasts numerous advanced technologies, including WPS, QoS, MU-MIMO, and more. The design and size of this device set it apart, featuring an artistic yet professional design and a compact size, making it exceptionally portable for users on the go.
Moreover, Wavlink goes the extra mile by providing users with multiple Wavlink AC3200 Extender setup options, offering configuration flexibility. If one setup option doesn’t meet your needs, there are alternatives available. The wifi.wavlink.com AC3200 Extender Setup options ensure that users can tailor the configuration to suit their preferences. As a user, you can expect this extender to meet all your high wireless internet demands, providing ultra-fast speed, extensive coverage, and optimal performance.
Top Features & Benefits of the Wavlink AC3200 Extender setup
- 4X4 Epochal MU-MIMO Technology Enterprise-Class Chipset QoS Feature Beam forming Technology
- Eight internal omni directional antennas and a 3.5″ TFT LCD screen
- Professional and Creative Design
- WPA-PSK and WPA2-PSK Cryptography
- Gigabit ports for LAN and WAN
- All-encompassing Compatibility
- Two bands (2.4 and 5 GHz) of bandwidth
- Greater Coverage and Data Transfer Speed of 3200 Mbps
- Outstanding Performance
Multiple Wavlink AC3200 Extender setup Methods
Wavlink offers a variety of configuration options, such as app-based setup, Web-UI setup, and WPS (one-button setup). Any of these Wavlink AC3200 Extender setup options are available to you, based on your preferences and level of comfort. Although WPS setup is the quickest and most straightforward option, the brand itself typically does not recommend it. Either Web-UI or app-based configuration options are the ones you should choose.
You must use a web browser to access the Wavlink login portal if you choose the Web-UI Wavlink AC3200 setup option. However, you will need to download and install the official Wavlink mobile app if you have chosen to use the app to complete the configuration.
Web-UI-Based Wavlink AC3200 Extender Setup
To initiate the Wavlink AC3200 setup, follow these straightforward steps:
- Plug in the power adapter of your Wavlink AC3200 device.
- Establish a secure connection between your modem and the Wavlink device using a networking cable.
- Power on the electrical outlet and switch on your device.
- Turn on your PC, laptop, or mobile phone and connect it to the Wavlink AC3200 network.
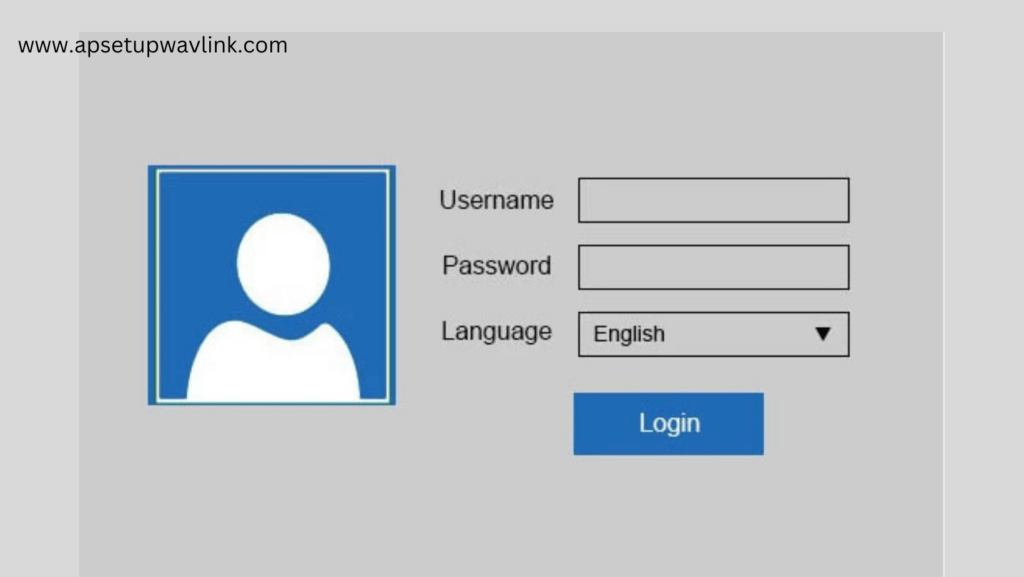
- Open a web browser and visit the Wavlink web management page using either wifi.wavlink.com or 192.168.10.1.
- Log into the portal to commence the Wavlink AC3200 setup process, using “admin” as your user ID and network key.
- Locate the “WAN connection type” option and select DHCP or Dynamic IP from the available connection types.
- Set up a new SSID and Password for your new connection, configuring the wireless settings of the device.
- Navigate to “Internet Settings” and then select the “Setup” option to complete the Wavlink AC1300 setup. Proceed through the instructions displayed on your device’s screen.
- Once the Wavlink AC3200 extender setup is successfully completed, restart your device before starting to use it.
Performing Wavlink AC3200 Extender setup Using the App
Ensure a seamless and efficient Wavlink AC3200 Extender setup with our step-by-step guide.
Follow clear instructions to connect the extender, configure settings, and enjoy enhanced WiFi coverage in your home or office. Optimize your network with Wavlink’s AC3200 Extender for a reliable and high-performance wireless experience.
- To initiate the app-enabled setup using wifi.wavlink.com for the AC3200 Extender, follow the initial four steps:
- Repeat the first four wifi.wavlink.com AC3200 Extender Setup steps to commence the app-enabled setup.
- Launch the Wavlink Router application on your device. If not already installed, install the application before proceeding.
- Log in to the Wavlink admin panel using the default login credentials before transitioning to the Wavlink AC3200 setup. If you possess an existing Wavlink account, use your Wavlink login user ID and password.
- In the subsequent step, locate the setup option.
- Follow the additional instructions to successfully complete the Wavlink AC3200 setup.
- Once the Wavlink AC3200 extender setup is finalized, power cycle the device and connect the devices you wish to use.
Fixing the Wavlink AC3200 Extender setup Errors
Given the technical nature of the Wavlink AC3200 configuration process, encountering errors is not uncommon during the setup. Some errors are easily identifiable and can be resolved with basic troubleshooting steps like restarting the device. However, certain errors may be more complex, making it challenging to pinpoint and resolve them. To address Wavlink AC3200 setup errors, consider the following steps:
- Run a Wavlink AC3200 Firmware Update: Ensure your device has the latest firmware for optimal performance.
- Use Another Device or Browser for the Setup: Switch to a different device or browser to rule out compatibility issues.
- Change the Existing Modem or Router: If possible, try using a different modem or router to eliminate potential hardware issues.
- Move to a Better Network Location: Relocate to a more favorable network position within your space to improve connectivity.
- Eliminate Objects Interfering with Radio Waves: Remove or reposition objects that may be causing interference with radio waves.
- Reset the Wavlink AC3200 Device to Default Settings: Perform a factory reset to revert the device to its default settings.
- Disable Firewall Settings on Your System: Temporarily disable firewall settings on your system to check for any restrictions.
- Turn off VPN Proxy If Enabled: If you’re using a VPN proxy, disable it temporarily to assess its impact on the setup.
- Clear Cache Files and Cookies From Browser: Remove cache files and cookies from your browser to ensure a clean setup process.
- Delete Temporary Files from Your System: Clear temporary files on your system to optimize its performance.
- Use a Mobile Phone Instead of a Computer: If issues persist on a computer, try using a mobile phone for the setup process.
Steps to Reset the Wavlink AC3200
Resetting the Wavlink AC3200 WiFi device fixes a wide range of technical errors. Here we have outlined the reset steps below:
- Before proceeding with the Wavlink AC3200 device reset, be aware that this action will erase all crucial data, including the Wavlink username and password. If you are comfortable with this, follow the reset process:
- Once you’ve made the decision, locate the “Reset” or “Factory Reset” button on your Wavlink AC3200 device. This button is typically found near the WPS button, either on the bottom, rear, or top panel of the device.
- Hold the “Reset” button for 10 seconds. During this time, you will observe the Power LED flashing, indicating that the device is initiating the process to reset its settings to factory defaults.
- Allow the Wavlink AC3200 device to complete the reset process. You can wait during this time.
- Once the “Reset” is completed, power off your device and then turn it back on within a few seconds.
- Proceed to perform the Wavlink AC3200 setup again using any of the available methods. You should not encounter any technical errors during this setup process.
read more: WL WN518W2 N300 extender setup
FAQ