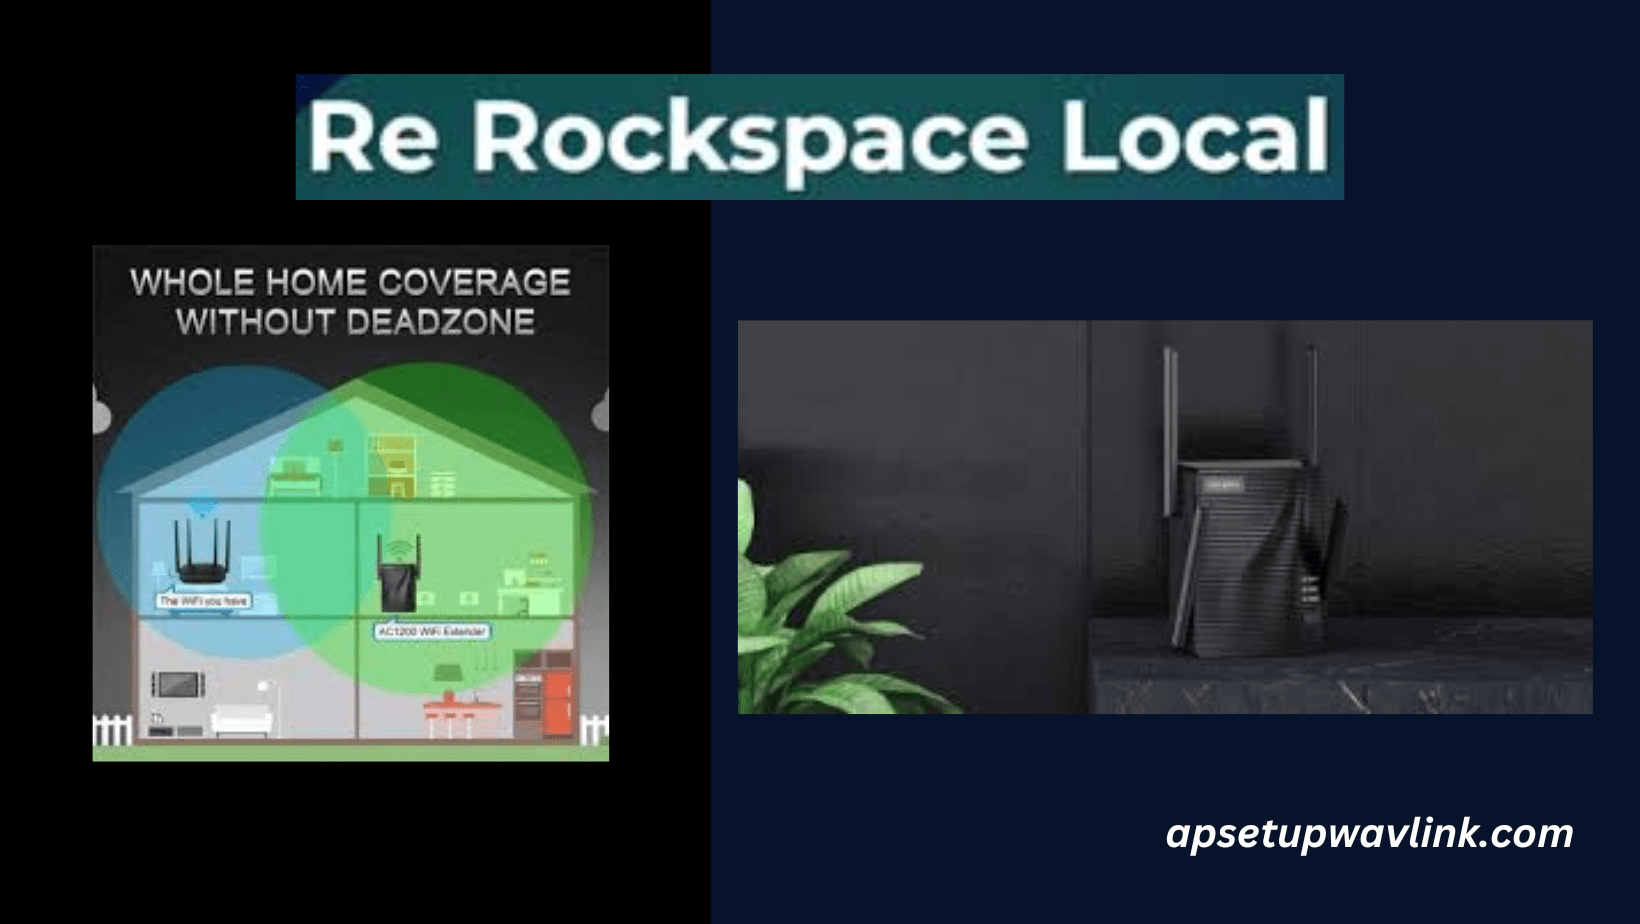
To setup your Rockspace wifi extender, use the local web URL re.rockspace.local. Install your Rockspace range extender for your workplace or home and bid farewell to weak connectivity. So, if you want to install the Rockspace Wi-Fi range extender, read on. Here, we will provide simple step-by-step instructions to assist you in completing the re.rockspace.local setup procedure.
Rockspace extender setup
You can setup your extender in two ways:
- Rockspace wifi extender with Manual method.Using
- Using WPS (Wireless Protected Setup) button.
Rockspace wifi extender setup by Manual method
To manually setup your rockspace repeater, follow the instructions below:
- Unbox and arrange your rockspace repeater.
- Connect your Rockspace wifi extender.
- Go to your computer or laptop.
- Check that your rockspace extender is close to the router.
- Link your gadget to the internet.
- Choose any web browser, such as Firefox or Chrome.
- Then make a rockspace account.
- Then, as shown on the screen, proceed.
If you get stuck throughout the setup process. You may also use the WPS method to configure your rockspace extender. This blog will go over the WPS method for configuring your Rockspace repeater.
Rockspace extender setup using WPS button
Wps (wireless protected setup) is a quick and easy way to set up your rockspace extension. WPS is a router feature that makes it easier to join wifi-enabled devices to a secure wireless network.
To set up your rockspace extender via the WPS button follow these steps:
- Connect your rockspace extender to a power outlet.
- Wait for your extender’s power light to turn solid.
- Then, on your rockspace extender, press the WPS button for the first time.
- Within 1-2 minutes, repeat the process on your router.
- Both devices’ extender LEDs begin to blink.
- While the configuration is taking place, do not turn off your WIFI extender.
- Wait a few seconds for your rockspace extender to connect to your home network.
This is how to use the WPS method to configure your rockspace extender. If you have any problems with your rockspace extender after the setup process. You can upgrade or reset your rockspace repeater; to learn how to update the firmware on your extender, continue reading below.
How can I upgrade the firmware on my Rockspace extender using re.rockspace.com?
Initially, firmware upgrades are meant to improve the performance of your extender. If you are experiencing buffering and are not supplying adequate internet speed. If so, simply proceed to firmware upgrading. To upgrade your Rockspace firmware, follow the instructions below to download the most recent firmware for your extension.
The following are simple ways to upgrade your Rockspace extender:
- Join to the extender.
- Launch the browser.
- Visit re.rockspace.local.
- Enter your username and password to log in.
- Select Firmware update from the menu.
- Navigate to the administration bar and select the most recent firmware.
- The firmware upgrade will take about 2-3 minutes.
- Make sure you don’t turn off the power during the upgrading.
- Your Rockspace extender will then restart.
If you have any problems while changing the firmware on your Rockspace, you can easily contact our professionals by live chat or phone. They will assist you in finding better options.
How do you reset the Rockspace extender?
If you have forgotten your username and password, or if your repeater is not providing adequate internet access. Then, with a sharp pin, paper clip, or needle, reset your Rockspace extender.
To reset your Rockspace extender follow the tips given below:
- Plug the extender into an outlet to turn it on.
- Following that, you will notice a solid blue light on your extender.
- Insert a pin through the reset hole.
- Maintain the pin in place for at least 8-10 seconds.
- Remove the pin from the reset hole.
- And then wait for the LED to solid Blue
- Your rockspace extender will then reboot automatically.
The rockspace extender has been reset to its factory preset settings. If you still need assistance with your rockspace extender, please contact our technical support staff.
How can I access re.rockspace.local?
The login procedure is quite simple. Here are the instructions for logging onto re.rockspace.local:
- Open a browser on your PC or mobile device.
- Enter re.rockspace.local or 192.168.0.254 in the address bar.
- When you press enter, the login page will appear on your screen.
- Fill in your login information with username and admin.
- You may now access all of the re.rockspace.local interface’s settings and functionalities.
This is the most secure way to access re.rockspace.local. If you have any questions about your Rockspace wifi extender, you may easily contact our technical experts. They will assist you with your inquiry.
For more information:
- Victony wifi extender setup
- Wavlink AC1200 setup
- Wavlink AC600 setup
- 192.168.10.1
- Wavlink wifi extender setup
FAQ