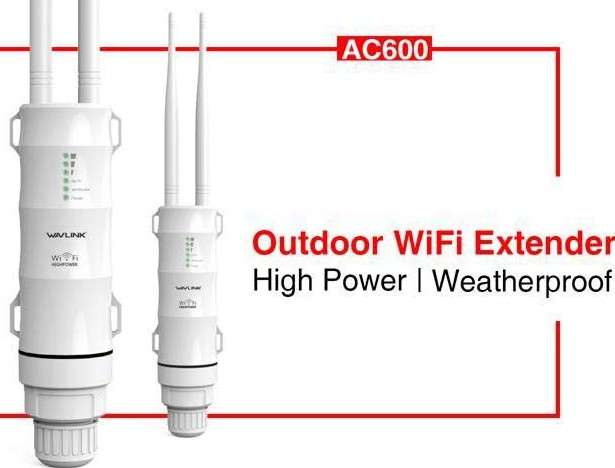
Wavlink AC600 Setup | Complete Installation Guide
Looking to set up your Wavlink AC600 WiFi extender? This simple step-by-step guide will help you get started in just minutes. Whether you're using WPS, a browser, or the Wavlink app, we've got every method covered.
🔧 What You Need
- Wavlink AC600 dual-band extender
- Active WiFi router with internet access
- Smartphone, tablet, or computer
- Power source and optional Ethernet cable
🚀 Method 1: AC600 WPS Setup (Fastest)
- Plug in your Wavlink AC600 and wait for the power LED to turn on.
- Press the WPS button on the extender.
- Within 2 minutes, press the WPS button on your router.
- Wait for a solid LED light – this means the connection is successful!
Note: Your extended network will usually appear with a name like "HomeNetwork_EXT".
🌐 Method 2: Wavlink Ac600 Web-Based Setup
- Connect your device to the Wavlink WiFi (e.g.,
Wavlink-NorWavlink-5G). - Open a browser and go to http://192.168.10.1 or http://wifi.wavlink.com.
- Login with admin for both username and password (unless changed).
- Select a mode: Repeater, Access Point, or Router.
- Choose your home WiFi network, enter its password, and click Apply.
Tip: Repeater mode is best for boosting existing WiFi coverage.
📱 Method 3: AC600 Setup Using Wavlink App
- Download the Wavlink app from the Google Play Store or Apple App Store.
- Connect your phone to the extender's WiFi signal.
- Launch the app and follow the on-screen steps to complete setup.
📶 Placement & Performance Tips
- Place the extender halfway between your router and the weak-signal area.
- Avoid walls, metal objects, or appliances like microwaves.
- Rename your extended SSID for clarity (e.g.,
MyHome_EXT).
❗ Troubleshooting & Reset
- If you can’t access the setup page, clear your browser cache or use incognito mode.
- Still not working? Press and hold the Reset button for 10 seconds.
- Make sure your device is connected to the extender's WiFi during setup.
🔁 Firmware Update
Keep your Wavlink AC600 updated for better performance and security:
- Login to the web interface.
- Go to System Tools > Firmware Upgrade.
- Follow instructions to check and install available updates.
💡 Need More Help?
If you need more assistance, contact us directly at +1-323-507-3713. We’re happy to help!
Tags: Wavlink AC600 Setup, How to Setup Wavlink Extender, Wavlink AC600 Repeater Configuration, WiFi Extender Installation Guide
Here are the instructions for configuring the Wavlink AC600:
- Unbox and arrange your device.
- Connect the AC600 to a power source.
- Get on any smart gadget.
- Select a browser.
- Enter 192.168.10.1.
- Then enter your name and administrative password.
- Click the login button.
Follow the on-screen directions to complete the Wavlink AC600 setup. If you have successfully connected your extender to the router but still do not have an internet connection, then you will have to update the firmware of your Wavlink AC600 wifi extender.