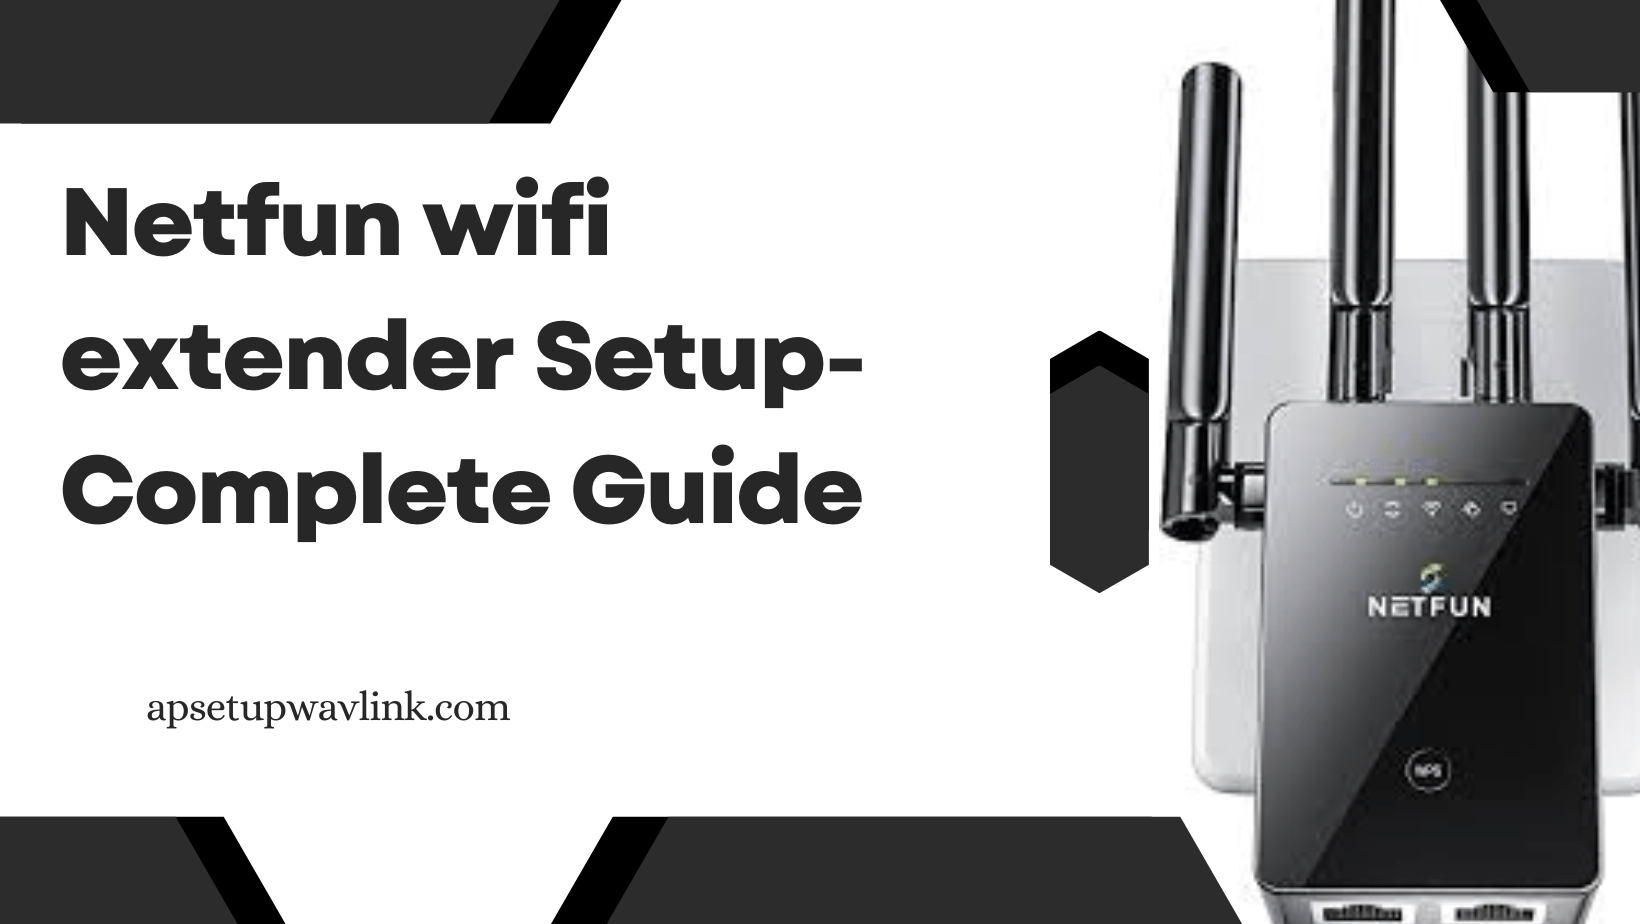
Netfun WiFi extender is a device that helps to improve the range and performance of your wireless network. Netfun WiFi extender setup can be a great way to get rid of dead zones in your home or office.
The Netfun WiFi Extender is your pass to uninterrupted connectivity. Effortlessly expanding the range of your wireless network, it eliminates dead zones and boosts signal strength with an easy-to-use setup. Netfun makes WiFi extension easy by putting simplicity at your fingertips. Now, let’s explore the steps for Netfun WiFi extender setup.
- For Netfun WiFi extender setup, the Netfun WiFi extender is the best option.
- Read through the Netfun WiFi extender user manual instructions in their entirety first.
- The Netfun extender won’t cause any problems if you set it up in accordance with the handbook instructions.
- Please read the entire thing, then plug it in to the wifi router nearby.
- Make sure the signal has a suitable range.
- The Nextfun wifi range extender can then be connected to the wifi router using an Ethernet cable.
- You can set up the Netfun 300m WiFi repeater using a web browser or WPS.
- The Netfun wifi repeater setup is simple using both of these methods.
- The Netfun WiFi range extender configuration can now be started.
Netfun WiFi extender via WPS Setup
Your hassle-free gateway to expanded connectivity begins with Netgear WiFi extender setup. Elevate your network effortlessly with Netfun. Now, let’s explore the easy steps for Netfun WiFi extender through WPS.
- Connect the extender to a power source.
- Press the WPS button on your router and extender within 2 minutes.
- Wait for the extender’s LED light to turn solid green.
- Connect your devices to the extender’s WiFi network.
- The extender will use the same name and password as your router’s WiFi network, but with the suffix “_EXT”.
Your Netfun WiFi extender will begin expanding the range of your wireless network automatically as soon as it is configured. Subsequently, you can use any of your devices to join the extender’s Wi-Fi network, and you’ll experience improved performance and signal strength.
Netfun WiFi extender Setup with Ethernet
Enhancing the range and efficiency of your wireless network can be achieved with Netfun WiFi extenders. Moreover, there are only a few simple steps involved in setting up a Netfun WiFi extender with Ethernet.
- For Netfun WiFi extender setup, the Netfun WiFi extender is the best option.
- Read through the Netfun WiFi extender user manual instructions in their entirety first.
- The Netfun extender won’t cause any problems if you set it up in accordance with the handbook instructions.
- Please read the entire thing, then plug it in to the wifi router nearby.
- Make sure the signal has a suitable range.
- The Nextfun wifi range extender can then be connected to the wifi router using an Ethernet cable.
- You can set up the Netfun 300m WiFi repeater using a web browser or WPS.
- The Netfun wifi repeater setup is simple using both of these methods.
- The Netfun WiFi range extender configuration can now be started.
Enjoy constant connectivity, whether working, gaming, or streaming, thanks to its small size and multiple modes. Moreover, upgrade your online experience with Netfun, where dependability and setup come together for an endlessly connected world.
Netfun WiFi extender Setup via Web Browser
To set up your Netfun WiFi Extender with a web browser, follow these steps:
- Connect the extender to a power source.
- Connect your device to the extender’s WiFi network. The network name will be the same as your router’s WiFi network name, but with the suffix “_EXT.”
- Open 192.168.10.1 in your web browser.
- Enter the username and password: admin.
- Select the Repeater mode.
- Click on the Scan button to search for available networks.
- Select your router’s SSID from the list and click on the Connect button.
- Enter your router’s password and click on the OK button.
- To save your modifications, click the Apply button.
- Your extender is now configured to extend your router’s WiFi signal. You can now connect your devices to the extender’s WiFi network.
Netfun WiFi extender setup Key features
The Netfun WiFi extender setup typically involves a few key features to enhance and optimize your WiFi network. Moreover, here’s a brief overview of the setup features:
1. Plug-and-Play Installation: Simple and quick setup process, often involving plugging the extender into a power outlet.
2. WPS (WiFi Protected Setup): Some extenders support WPS for easy and secure connection to the existing WiFi network with the push of a button.
3. WebBased Setup Interface: Accessible through a web browser, allowing users to configure settings, security, and other preferences.
4. Signal Strength Indicator: Helps identify the optimal location for the extender by displaying the strength of the existing WiFi signal.
5. DualBand Support: Many extenders operate on both 2.4GHz and 5GHz bands, providing flexibility for different devices and applications.
6. SSID Cloning: Allows the extender to replicate the existing WiFi network, simplifying device connections.
7. Wireless Security Features: Options for setting up password protection and encryption to secure the extended network.
8. Range Extending Mode: Extends the coverage area of the existing WiFi network to eliminate dead zones.
9. Ethernet Ports: Some extenders come with additional Ethernet ports, enabling wired connections for devices like gaming consoles or smart TVs.
10. Smart LED Indicators: Intuitive LED lights on the extender that provide status information, aiding in troubleshooting and setup.
These features collectively contribute to a seamless and efficient setup process for the Netfun Extender. Consequently, this ensures improved WiFi coverage and performance.
Updating the firmware on your Netfun WiFi extender
Updating the firmware on your Netfun WiFi extender is a bit like giving your extender a software makeover to make it work even better. Now, here’s a simple guide:
- Go to Netfun’s official website.
- Look for your specific extender model
- Download the newest software available for your extender
- Save the downloaded software on your computer, where you can easily find it later.
- Make sure your computer is connected to your Netfun extender or internet.
- Go to the extender’s IP address ie 192.168.10.1
- Use your username and password for log in your account
- Look around for a section that talks about updates.
- Follow the instructions to install the new software you downloaded.
- Wait a bit for the extender to do its thing and update.
Netfun wifi extender reset
The extender can be reset in two ways: either by hard factory reset or by soft factory reset. Essentially, it is performed when the user has forgotten his/her login credentials and wants to access them again; therefore, one may do a reset. Now, here are the steps for.
Hard reset
- Disconnect the power from the extender.
- Locate the reset button on the extender.
- For ten seconds, press and hold the reset button.
- Release the reset button and reconnect the power to the extender.
- The extender will reboot and be restored to factory defaults.
Soft reset
- Open a web browser
- Type IP (192.168.10.1.)
- Enter the username and password: admin.
- Click on the Management tab.
- Select the Factory Reset button.
- Choose on the OK button to confirm the factory reset.
- The extender will reboot and be restored to factory defaults.
- After resetting your Netfun WiFi extender, you will need to set it up again. You can follow the instructions in the extender’s manual or the quick setup guide that came with the extender.
Performing a factory reset will erase all of the extender’s settings, including the Wi-Fi network name and password. Therefore, make sure to back up your extender’s configuration before performing a factory reset.
Also read– AOOEPU 1200Mbps WiFi Extender
Common issues while Netfun WiFi extender setup
Using Netfun WiFi extenders is a great way to increase your wireless network’s performance and range. However, there are a few typical problems that can arise during setup, including:
- Can’t connect to extender’s Wi-Fi network
- Slow internet speeds
- Compatibility Concerns
- Unupdated Firmware
- Wrong IP Address or not accessible
- No internet connection
- Can’t access extender’s web interface
- Extender, giving orange light continuously
- The power socket not working properly
- Ethernet cable is damaged
Troubleshooting tips while Netfun WiFi extender setup
Using Netfun WiFi extenders is a great way to increase your wireless network’s performance and range. To ensure your extender functions correctly, there are a few things you should consider when setting it up.
- The extender should be placed within range of the router. You can check the signal strength by looking at the LED lights on the extender.
- Reset the extender to factory defaults
- Place your extender where it gets a good Wi-Fi signal, not too far or too close to your router.
- Make sure your extender works with your router. Some best buddies might not get along.
- Double-check your Wi-Fi password.
- Update your extender’s software. Like a phone update, it keeps things smooth.
- Too many devices can slow things down. Limit how many are connected.
If you are still having trouble, please consult the extender’s manual for more troubleshooting tips. Additionally, reaching out to customer support can provide further assistance in resolving any issues