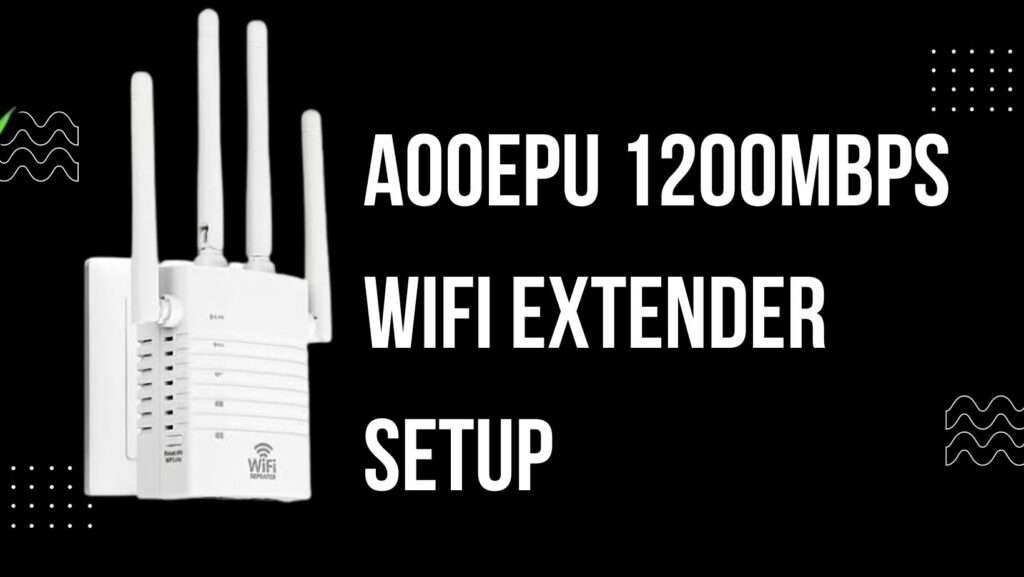
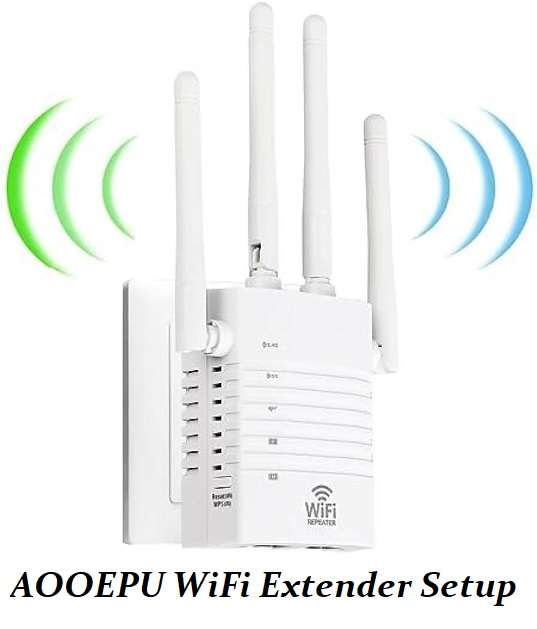
In our fast-paced, digitally driven world, a strong and reliable Wi-Fi connection is more crucial than ever. Whether you’re working from home, streaming your favorite shows, or just staying connected with friends and family, a weak Wi-Fi signal can be a real buzzkill. But fear not, because we have the solution you’ve been looking for: the AOOEPU 1200Mbps WiFi Extender. In this comprehensive guide, we will walk you through every step of the AOOEPU 1200Mbps WiFi Extender setup, ensuring you can enjoy seamless internet connectivity throughout your home.
Why You Need an AOOEPU 1200Mbps WiFi Extender
Before we dive into the nitty-gritty of setting up your AOOEPU 1200Mbps WiFi Extender, let’s take a moment to understand why this device is a game-changer for your home network.
1. Expanding Your Wi-Fi Coverage
One of the most common issues people face is dead spots in their homes where the Wi-Fi signal just doesn’t reach. These frustrating dead zones can be a real hassle, making it impossible to work, play, or stream content in certain areas of your home. The AOOEPU 1200Mbps WiFi Extender can help you eliminate these dead spots, extending your Wi-Fi coverage to every nook and cranny.
2. Faster Speeds for All Your Devices
With more and more devices in our homes connecting to the internet, including smartphones, tablets, smart TVs, and gaming consoles, a slow and unreliable Wi-Fi signal can bring everything to a grinding halt. The AOOEPU 1200Mbps WiFi Extender provides lightning-fast speeds, ensuring that all your devices can enjoy a smooth and lag-free online experience.
3. Simple and Quick Setup
Setting up the AOOEPU 1200Mbps WiFi Extender is a breeze. You don’t need to be a tech whiz to get it up and running. In fact, we’ll guide you through the process step by step, making it a hassle-free experience for everyone.
Now that you understand the benefits, let’s get into the nitty-gritty of the setup process.
AOOEPU 1200Mbps WiFi Extender Setup: Step by Step
We’re about to embark on a journey to banish those pesky Wi-Fi dead zones for good. There are two primary methods for setting up your AOOEPU 1200Mbps WiFi Extender: the WPS (Wi-Fi Protected Setup) method and the Web-Based method.
WPS Method: Quick and Easy
The WPS method is the fastest way to get your AOOEPU 1200Mbps WiFi Extender up and running. Follow these steps to achieve seamless Wi-Fi coverage in no time:
1. Plug in Your Extender: Find a power outlet that’s within range of your existing Wi-Fi router. Plug in your AOOEPU 1200Mbps WiFi Extender.
2. Press the WPS Button: Locate the WPS button on your extender and press it. This initiates the WPS setup mode.
3. Press the WPS Button on Your Router: Within two minutes, press the WPS button on your Wi-Fi router. The two devices will establish a connection automatically.
4. Secure Your Network: Once the connection is established, your extender’s LED lights should turn solid green. This indicates a successful connection. You can now move your extender to the desired location in your home.
5. Connect Your Devices: Look for the new network created by your extender in your device’s Wi-Fi settings. Connect to it and enter the Wi-Fi password if prompted. Congratulations, you’re now enjoying extended Wi-Fi coverage!
The WPS method is incredibly user-friendly and takes just a few minutes. However, it’s important to note that not all routers support WPS. If your router doesn’t have a WPS button, or you prefer a different approach, you can opt for the Web-Based method.
Web-Based Method: When WPS Isn’t an Option
The Web-Based method provides an alternative way to set up your AOOEPU 1200Mbps WiFi Extender, and it’s just as straightforward.
1. Connect to Your Extender: Plug in your extender and ensure it’s powered on. Use a device like a computer or smartphone to connect to the extender’s default Wi-Fi network. You can find this network name and password in the extender’s user manual.
2. Access the Extender’s Configuration Page: Open your web browser and enter “http://192.168.188.1” in the address bar. This will take you to the AOOEPU 1200Mbps WiFi Extender’s configuration page.
3. Login to the Extender: You will be prompted to enter a username and password. By default, the username and password are often “admin.” Check your user manual for the specific credentials for your extender.
4. Configure Your Extender: Once logged in, you can follow the on-screen instructions to set up your extender. You’ll select your existing Wi-Fi network, enter the password, and make any other necessary adjustments.
5. Enjoy Extended Coverage: After completing the setup, your extender will restart, and you can connect your devices to the extended network.
Additional Functions: Login, Reset, Firmware Update, and Access Point Mode
Your AOOEPU 1200Mbps WiFi Extender isn’t just for extending your Wi-Fi coverage. It comes with a range of additional functions that can further enhance your network experience.
Logging into Your Extender
To access and manage your extender’s settings, you can log in at any time. Here’s how:
1. Ensure your device is connected to the extender’s Wi-Fi network.
2. Open your web browser and enter “http://192.168.188.1” in the address bar.
3. Log in using the username and password you set during the initial setup.
Resetting Your Extender
If you ever encounter issues with your extender, a reset might be the solution. To perform a factory reset:
1. Locate the reset button on your extender (usually a small hole).
2. Use a paperclip or similar tool to press and hold the reset button for about 10 seconds.
3. Your extender will reset to its default settings, and you’ll need to set it up again from scratch.
Firmware Update
Periodic firmware updates are essential to keep your extender operating at its best. Here’s how to update the firmware:
1. Log in to your extender as previously described.
2. Check for firmware updates in the settings menu.
3. If an update is available, follow the on-screen instructions to complete the process.
Access Point Mode
Your AOOEPU 1200Mbps WiFi Extender can also function as an access point, providing a wired connection to Wi-Fi. To set it up as an access point:
1. Log in to your extender.
2. Navigate to the settings menu and select “Access Point Mode.”
3. Follow the on-screen instructions to configure the access point mode.
Read more:
1. How to setup Wavlink extender.
Frequently Asked Questions (FAQ)
To ensure you have all the information you need, we’ve compiled a list of frequently asked questions about the AOOEPU 1200Mbps WiFi Extender setup.