In our rapidly advancing digital era, a robust Wi-Fi network is no longer a luxury but a fundamental necessity. However, the frustration of dead zones and weak signals can impede your online activities. Fear not, for Wi-Fi extenders come to the rescue, expanding your network’s reach and eradicating connectivity gaps.
Setting up your newly acquired generic Wi-Fi extender doesn’t have to be daunting. This comprehensive guide, centred on Generic Wi-Fi Extender Setup, will gently walk you through the process, ensuring a seamless and stress-free experience. Follow the steps outlined, and soon you’ll have your extender up and running smoothly, expanding your Wi-Fi coverage effortlessly.
Step-by-Step Setup
Method 1: WPS (Wi-Fi Protected Setup)
WPS offers a convenient way to connect your Wi-Fi extender to your router without the hassle of lengthy password entries. Here’s a simple breakdown:
- Switch On: Connect your Wi-Fi extender to a power source and wait patiently for it to boot up completely.
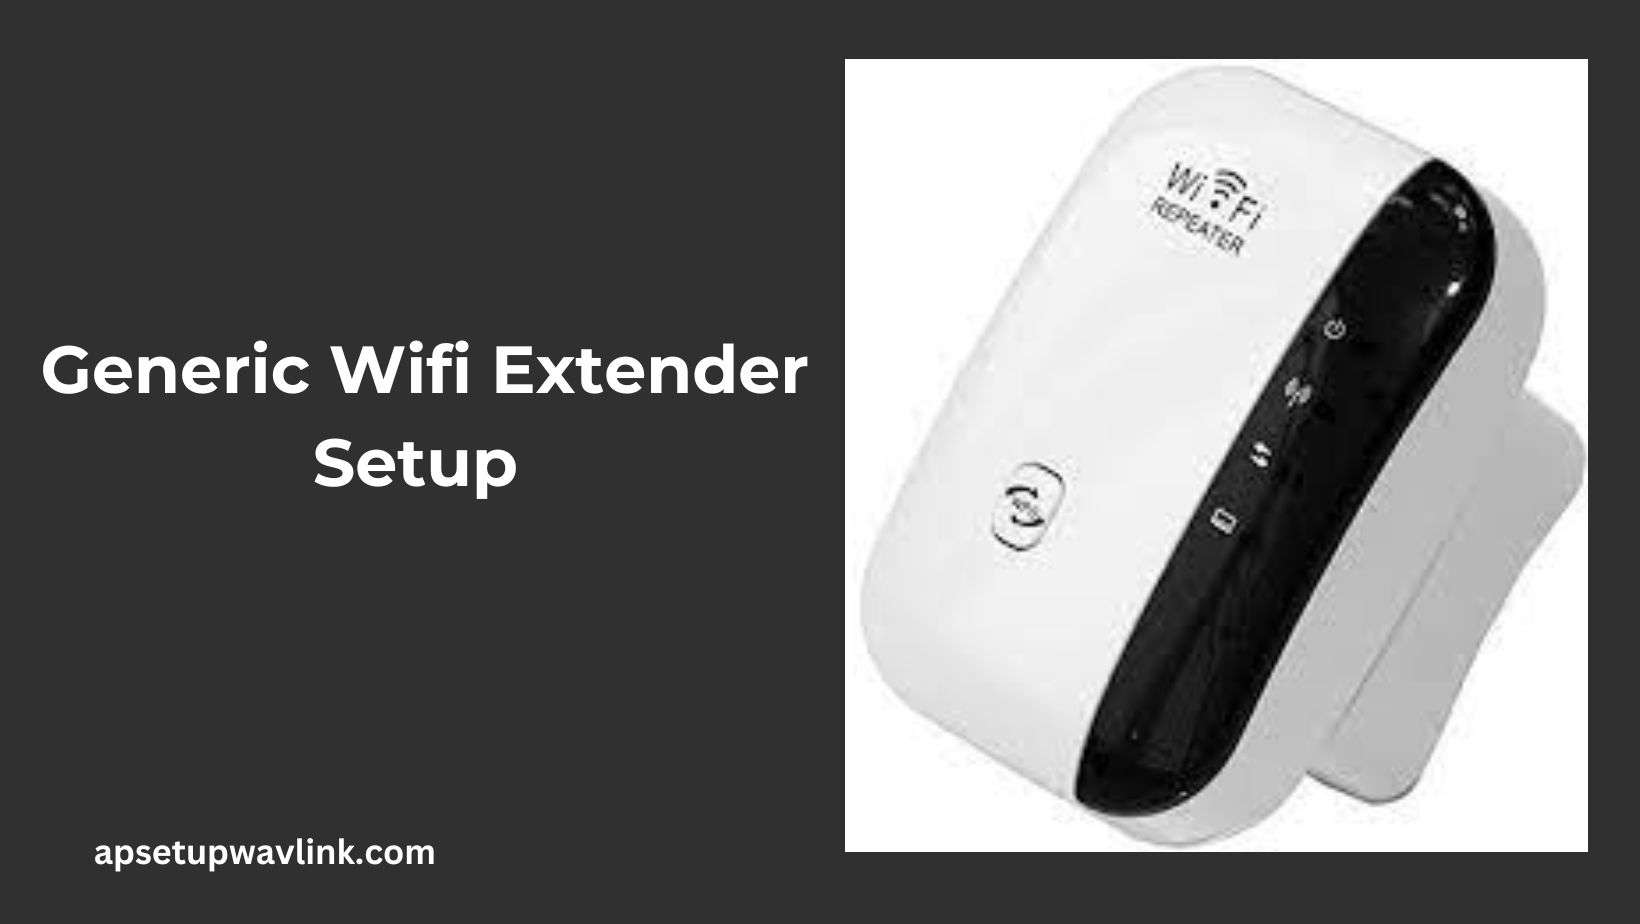
- Find WPS Buttons: Discover the WPS buttons on both your router and Wi-Fi extender, usually marked as “WPS” or with a symbol resembling two arrows.
- Activate WPS Connection: Hold down the WPS button on your router for 2-3 seconds, then promptly repeat the action on your Wi-Fi extender.Once connected, both devices’ WPS indicator lights should turn solid.
- Verify Connection: Check your Wi-Fi devices to ensure they detect and connect to the extended network.
Method 2: Web-Based Setup
For those leaning towards a more conventional approach, configuring your Wi-Fi extender via a web browser is equally straightforward:
- Connect to Extender: Join your computer or mobile device to the Wi-Fi network generated by your extender, commonly labelled “RE_EXTENDER_XXXX” or “NETGEAR_EXTNDR.”
- Open Web Browser: Start a web browser on your connected device.
- Enter IP Address: Key in the default IP address of your Wi-Fi extender (typically 192.168.10.1) into the address bar.
- Login Credentials: Provide the default username and password (usually “admin” or “admin123”) found in the user manual.
- Setup Wizard: Follow the on-screen instructions from the setup wizard, including choosing your home Wi-Fi network and inputting its password.
- Save Settings: Once the setup is done, save your changes and restart the Wi-Fi extender.
Additional Configuration
Login Procedure
To access your Wi-Fi extender’s web-based interface for further configuration:
- Join Extender Network: Link your computer or mobile device to the expanded Wi-Fi network formed by your extender.
- Start Web Browser: Open a web browser on your connected device.
- Input IP Address: Enter the IP address of your Wi-Fi extender (typically 192.168.10.1) into the address bar.
- Provide Login Details: Input the username and password established during the initial setup or use the default credentials outlined in the user manual.
Reset
If issues arise or a factory reset is needed:
- Locate Reset Button: Identify the reset button on your Wi-Fi extender, typically labelled “Reset” or “Hard Reset.”
- Press and Hold: Utilise a paperclip or similar tool to press and hold the reset button for 10-15 seconds.
- Wait for Reboot: The extender will power cycle and reboot to its factory default settings.
Firmware Update
Ensure optimal performance and security by keeping your Wi-Fi extender’s firmware up to date:
- Access Settings: Log in to your Wi-Fi extender’s web-based interface.
- Find the Firmware Update Section: Head to the “Firmware” or “System Settings” segment.
- Search for Updates: Explore the menu to locate an option labelled “Check for Updates” or “Upgrade Firmware.”
- Apply Updates: If the option is present, proceed by following the on-screen instructions to download and install the updates.
Access Point Mode
Transform your Wi-Fi extender into a standalone access point with these steps:
- Access Settings: Log in to your Wi-Fi extender’s web-based interface.
- Adjust Settings: Head to the “Mode” or “Wireless Settings” segment.
- Choose Access Point Mode: Opt for the “Access Point Mode” or “AP Mode” setting.
- Personalise Settings: Customise the access point by configuring the SSID, password, and security settings.
- Save Adjustments: Save your changes and restart the Wi-Fi extender.
ALSO READ- Trifiboost wifi extender setup
FAQs