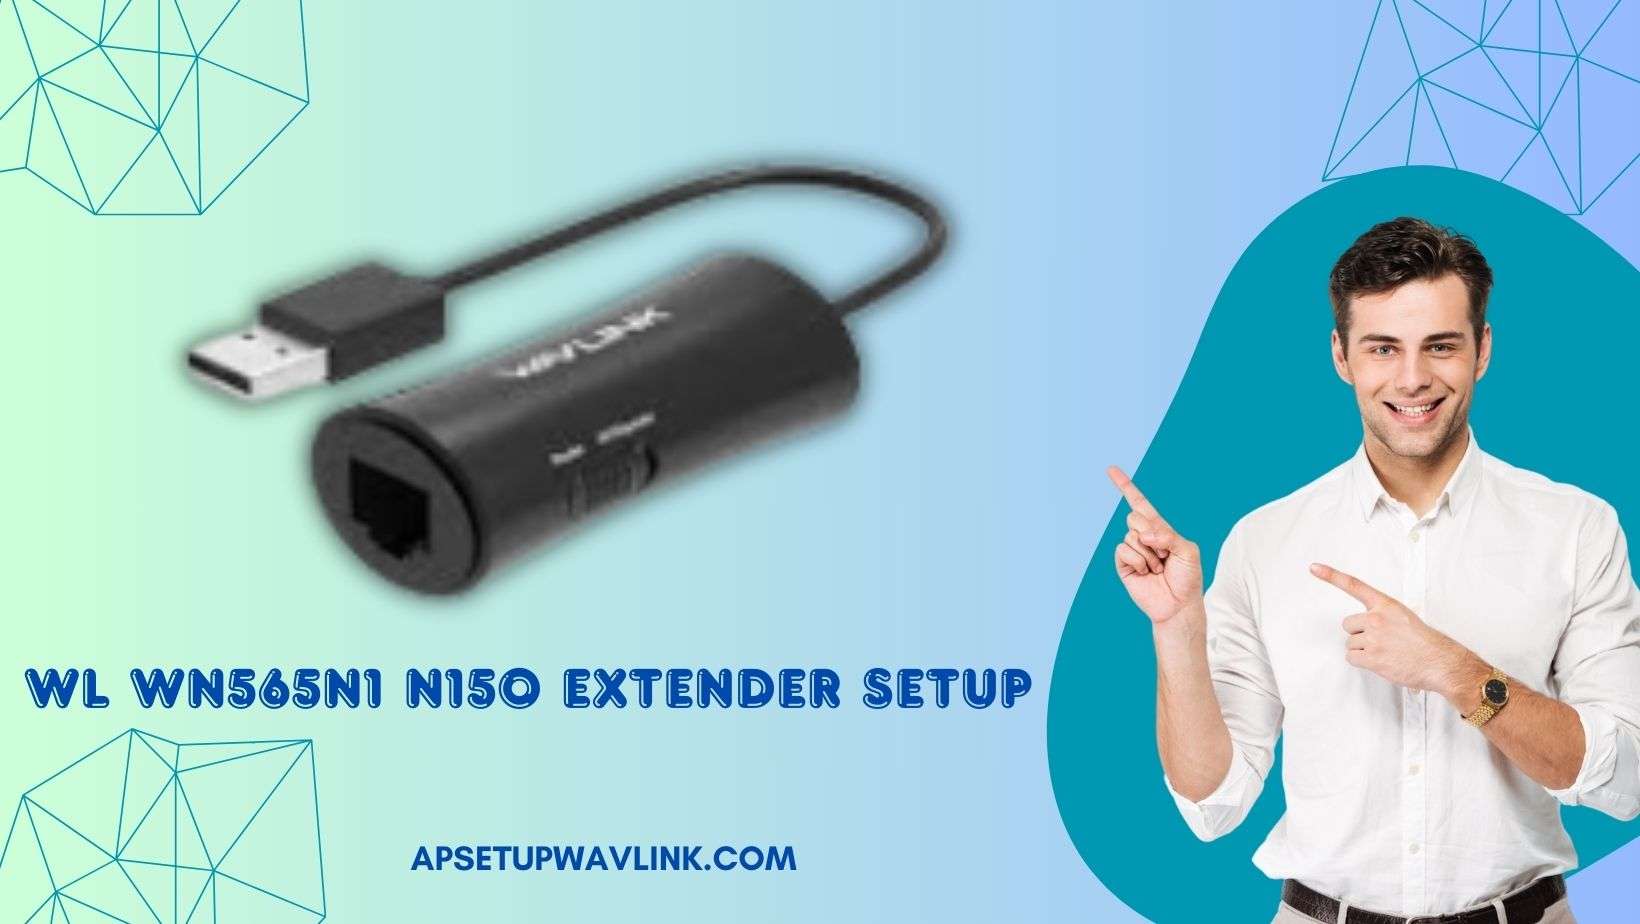
The WL WN565N1 N150 Extender Setup is a process that involves configuring and optimising a Wi-Fi network extension using the specified extender model. Begin by plugging the extender in close proximity to the existing Wi-Fi router, ensuring an optimal signal range. Power on the extender and wait for LED stabilisation. Utilise the WPS button on the extender, holding it until the LED blinks. Within two minutes, repeat this action on the Wi-Fi router. A solid WPS LED indicates a successful connection. If Wi-Fi signal strength is insufficient, consider relocating the extender within the router’s range for enhanced network coverage.
Getting Started with WL WN565N1 N150 Extender Setup
1. Unboxing and Hardware Check
The first step in your journey to improved connectivity begins with unboxing the WL WN565N1 N150 Extender. Check for the essentials: the extender itself, a power adapter, and an Ethernet cable. Ensure everything is in pristine condition.
2. Choosing the Optimal Location
Location is key! Place the extender within the range of your existing Wi-Fi router but away from interference. Remember, optimal placement ensures maximum signal coverage.
3. Power Up and Connectivity
Connect the extender to a power source using the provided adapter. Wait for the indicator lights to stabilise. Use the included Ethernet cable to link the extender to your router.
WL WN565N1 N150 Extender Setup Via WPS Method
WPS (Wi-Fi Protected Setup) is a hassle-free method for connecting devices to your Wi-Fi network without the need for a password.
- Plug the WN565N1 N150 extender into a power outlet near your Wi-Fi router within its range.
- Power on the extender and wait for the LED lights to stabilise (1-2 minutes).
- Press and hold the WPS button on the extender until the WPS LED starts blinking.
- Within two minutes, press and hold the WPS button on your Wi-Fi router.
- Wait for the WPS LED on the extender to become solid, indicating a successful connection (about a minute).
- If the Wi-Fi signal is weak, relocate the extender to a different outlet within your router’s Wi-Fi range.
WL WN565N1 N150 Extender Setup Via Web-Based Method
- Connect the extender to a power source.
- Use a device to connect to the extender’s Wi-Fi network.
- Open a web browser on the connected device.
- Enter the extender’s IP address in the browser (refer to manual).
- Log in using default credentials (refer to manual).
- Follow on-screen instructions to complete the setup.
How to Login to WL WN565N1 N150 Extender
- Connect your device to the extender’s Wi-Fi network.
- Launch a web browser on your connected device.
- Enter the extender’s 192.168.10.1 IP address in the browser’s address bar.
- You will be directed to a login page.
- Input the default username and password (check the user manual).
- Click or press “Login” to access the extender settings.
Reset process for WL WN565N1 N150 Extender
- Find the reset button on the extender.
- Press and hold the reset button using a paperclip or a similar tool.
- While holding the reset button, power on the extender.
- Keep holding the reset button for about 10-15 seconds.
- Release the reset button after the specified duration.
- Wait for the extender to reboot, and it will be reset to factory settings.
Firmware Update for WL WN565N1 N150 Extender
- Launch a web browser and input the IP address of the extender.
- Log in to the extender’s web interface using your login details.
- Identify the current firmware version within the settings.
- Visit the manufacturer’s website and acquire the latest firmware compatible with your model.
- Within the extender’s web interface, navigate to the firmware update section.
- Upload the downloaded firmware file.
- Permit the update process to complete, which may result in an automatic reboot of the extender.
WL WN565N1 N150 Extender Setup Access Point
- Connect your computer or device to the extender’s Wi-Fi network using the provided credentials.
- Open a web browser and enter the extender’s IP address.
- Log in to the extender’s web interface using your credentials.
- Navigate to the settings or configuration page and select “Access Point” mode.
- Set the desired SSID (network name) and security settings for your Access Point.
- Save the changes, and the extender will restart, now functioning as an Access Point.
Also Read-
WL WN583AX1 AX1800 Extender Setup
WL WN575A2 AC750 Extender Setup
WL WN576A2 AC750 Extender Setup
WL WN578B2 AC750 Extender Setup
WL WN575A3 AC1200 Extender Setup
WL WN577A2 AC750 Extender Setup
Conclusion
Say goodbye to Wi-Fi woes as you embark on the WL WN565N1 N150 Extender Setup journey. With the dual prowess of WPS and web-based methods, achieving a robust and extended Wi-Fi network is within your grasp. Follow these steps diligently for a hassle-free experience. Stay connected, stay empowered!
FAQs