In the expansive landscape of networking solutions, the Wavlink Halo Glow AC1200 Setup stands out as a paragon of dependability and efficiency. Should you stand at the intersection of elevating your home network experience, the Halo Glow AC1200 could very well be the remedy you’ve been questing after. Join us on a voyage of effortless installation and fine-tuning for an unparalleled networking experience.
Setting the Stage: Wavlink Halo Glow AC1200 Setup
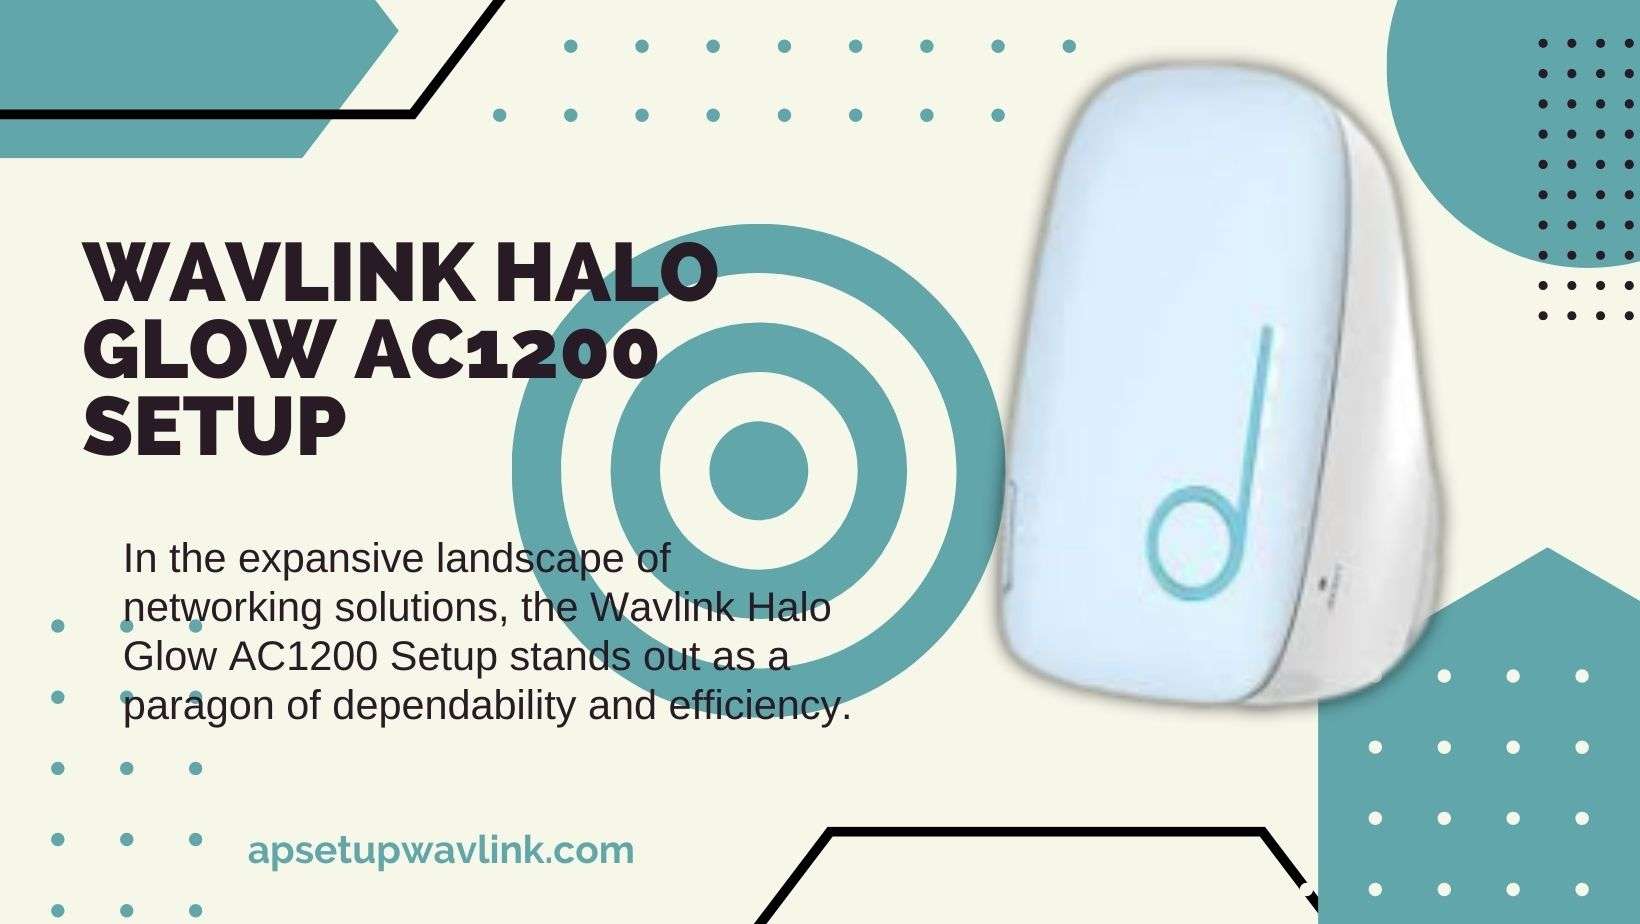
The Wavlink Halo Glow AC1200, a true luminary in the realm of routers, promises not just internet connectivity but a glowing experience. Before diving into the setup, let’s understand what makes this router a standout performer in the digital orchestra.
Unleashing the Power: Wavlink Halo Glow AC1200 Features
Before the spotlight shines on the setup process, let’s take a moment to appreciate the features that make the Wavlink Halo Glow AC1200 a sought-after choice. Blazing fast speeds, dual-band technology, and robust security features are just the tip of the iceberg.
Wavlink Halo Glow AC1200 Setup WPS method
Here’s the following steps for Wavlink Halo Glow AC1200 Setup:
- Ensure the Wavlink Halo Glow AC1200 is powered on.
- Press the WPS button on the Wavlink Halo Glow AC1200.
- Within 2 minutes, press the WPS button on your main router.
- Allow the extender to establish a connection with the router. Wait for the WPS LED to indicate a successful connection.
- Check that the WPS LED on the extender is now solid, indicating a stable connection.
- Connect your devices to the extended Wi-Fi network provided by the Wavlink Halo Glow AC1200.
Wavlink Halo Glow AC1200 Setup Web-Based Setup Method
Follow the given steps for Wavlink Halo Glow AC1200 Setup:
- Establish a link between your computer or mobile device and the Wavlink Halo Glow AC1200 Wi-Fi network.
- Initiate a web browser session on your connected device.
- Input the extender’s default IP address (typically 192.168.10.1) into the browser’s address bar, then hit Enter.
- Access the web-based setup dashboard by logging in with the default credentials (consult the user manual for the specific username and password).
- Embark on a journey through the setup wizard within the dashboard. Adhere to the prompts on the screen to tailor your Wi-Fi settings.
- Upon configuring the settings, implement the changes in the dashboard. The extender will undergo a restart, concluding your setup with seamless precision.
Logging In Wavlink Halo Glow AC1200 Setup
- Connect your computer or mobile device to the Wavlink Halo Glow AC1200 Wi-Fi network.
- Open a web browser on your connected device.
- Enter the default IP address for the extender (commonly 192.168.10.1 ) into the browser’s address bar and press Enter.
- Enter the username and password for the Wavlink Halo Glow AC1200. You can find these credentials in the user manual or on a label on the extender.
- Once logged in, you should have access to the web-based setup dashboard.
- Navigate through the dashboard to access and configure various settings for your Wavlink Halo Glow AC1200.
Resetting Wavlink Halo Glow AC1200
- Find the reset button on the Wavlink Halo Glow AC1200. This button is usually a small, recessed button on the device.
- Ensure the extender is powered on.
- Using a paperclip or a similar tool, press and hold the reset button for about 10 seconds.
- Release the reset button when the LED indicators on the extender start blinking or when you observe a change in the device’s behaviour.
- Wait for the Wavlink Halo Glow AC1200 to reboot. This process may take a few minutes.
- Once the reset is complete, the extender will be restored to its factory default settings. You can then reconfigure it as needed.
Resetting Wavlink Halo Glow AC1200
- Connect your computer or mobile device to the Wavlink Halo Glow AC1200 Wi-Fi network.
- Launch a web browser on the connected device.
- Type the default IP address for the extender (commonly 192.168.10.1) into the browser’s address bar and press Enter.
- Log in to the web-based setup dashboard using your username and password.
- Look for a section in the dashboard related to firmware or software updates. It might be under “Administration” or a similar tab.
- Follow the on-screen instructions to upload and install the new firmware file. This may involve selecting the firmware file from your computer and initiating the update process.
Wavlink Halo Glow AC1200 setup Access Point Mode
- Connect your computer or mobile device to the Wavlink Halo Glow AC1200 Wi-Fi network.
- Launch a web browser on the connected device.
- Type the default IP address for the extender (commonly 192.168.10.1) into the browser’s address bar and press Enter.
- Log in to the web-based setup dashboard using your username and password.
- Find the section in the dashboard related to operation modes or wireless settings. Look for an option to switch to Access Point mode.
- Select Access Point mode and follow the on-screen instructions to apply the changes. The extender will reboot and operate as an Access Point.
Also Read-
WL WN523N2 N300 Extender Setup
WL WN560N2 N300 Extender Setup
WL WN575HN2 N300 Extender Setup
Wavlink Halo Pro AC2100 Setup
Wavlink Halo Pro AC2100 Setup
Wavlink Halo Polar AC3000 Setup
Conclusion:
In conclusion, the Wavlink Halo Glow AC1200 setup is a seamless journey to brilliance. Whether you opt for the Web-Based method or the WPS shortcut, this device promises to illuminate your digital realm. Remember, for any troubleshooting or customization, the portal to brilliance is 192.168.10.1 – your gateway to an unparalleled networking experience.