WiFi 6, the latest evolution in wireless technology, has revolutionised the way we connect to the internet. As our dependence on high-speed, reliable internet grows, so does the need for advanced WiFi solutions. In this article, we delve into the world of Rockspace AX1800 WiFi 6 Extender Setup, exploring its features, benefits, and why it’s a game changer for your home network.
Table
- Troubleshooting Tips for Rockspace AX1800 WiFi 6 Extender Setup
- Why is Rockspace AX1800 not working accurately?
- Rockspace AX1800 WiFi 6 Extender Setup FAQ’s
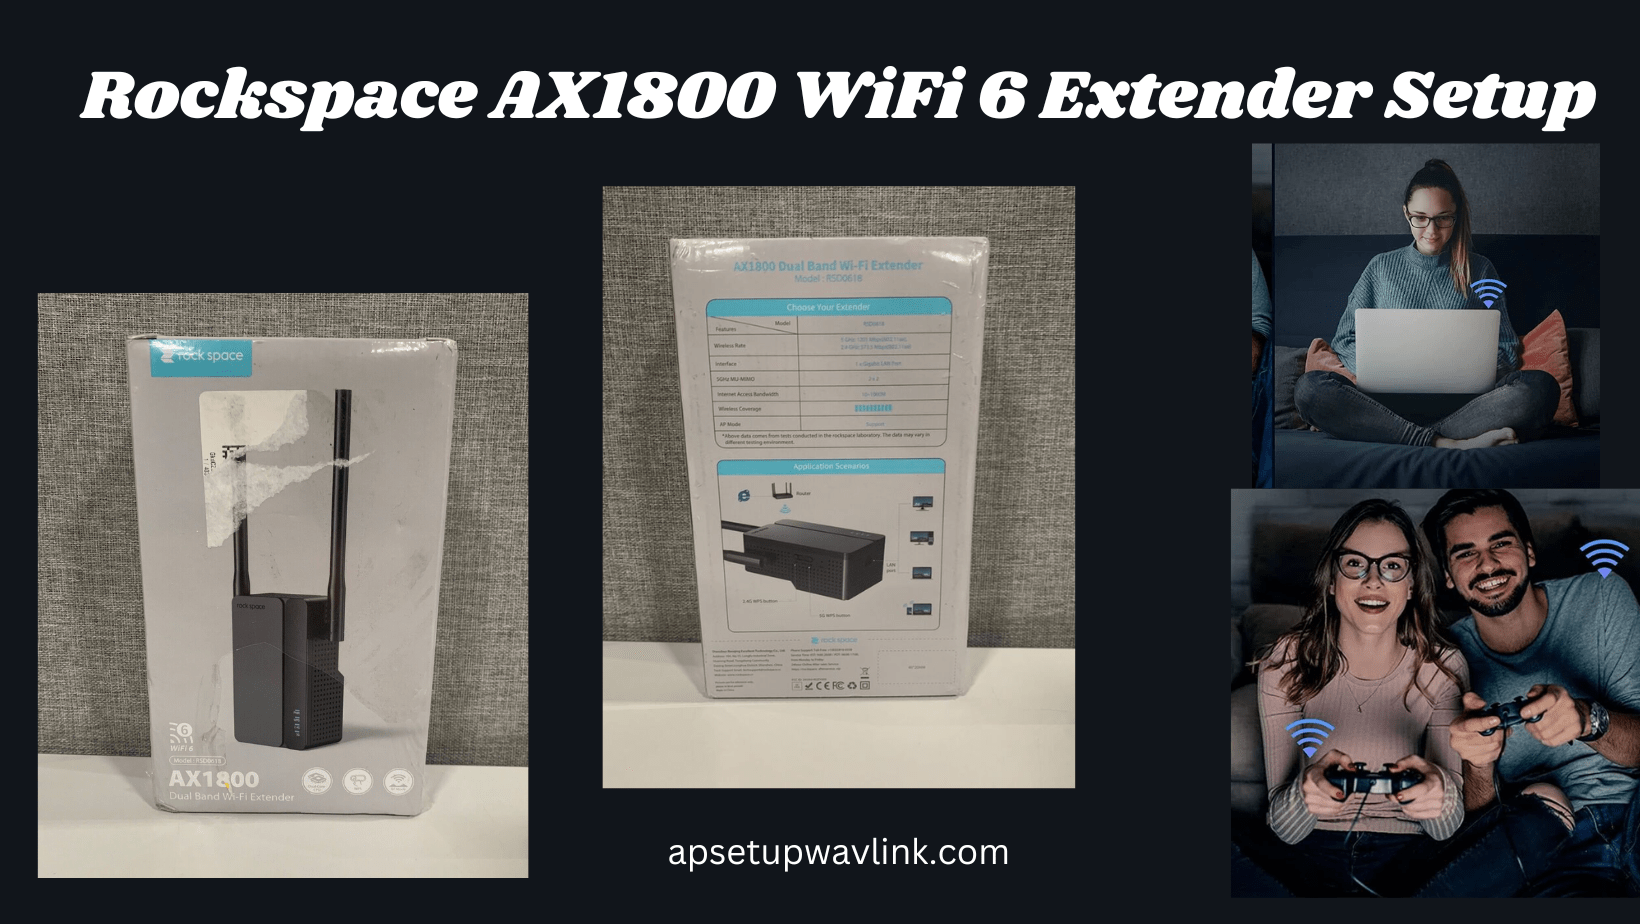
Introducing Rockspace AX1800 WiFi 6 Extender Setup
Rockspace, a reputable brand in the networking industry, has gained recognition for delivering cutting-edge solutions. The AX1800 model stands out as a testament to their commitment to providing high-performance extenders designed for modern needs. Let’s explore what sets this extender apart.
Understanding WiFi 6 Technology
WiFi 6, also known as 802.11ax, represents a significant leap forward in wireless technology. It brings improvements in speed, capacity, and performance compared to its predecessors. With the Rockspace AX1800 WiFi 6 Extender Setup, users can experience faster and more efficient connectivity, making it ideal for bandwidth-intensive activities such as streaming and online gaming.
Rockspace AX1800 WiFi 6 Extender Setup
Rockspace AX1800 WiFi 6 Extender Setup for the first time involves a straightforward process to ensure a reliable network connection. Follow these Rockspace AX1800 WiFi 6 Extender Setup steps:
1. Power on the WiFi range extender and other wireless devices.
2. Connect the AX1800 to the LAN port of your device via an Ethernet cable.
3. Once LED indicators stabilise, process the PPPoE username and password.
4. Unplug the extender and connect it to the internet.
5. Power on the extender and connect the LAN port to the modem.
6. Complete the setup by configuring the WiFi password and SSID network name.
Features of Rockspace AX1800 WiFi 6 Extender Setup
- Performance and Speed: In real-world testing, the Rockspace AX1800 excels in delivering on its promised performance. With impressive speed and low latency, it outperforms many extender in its price range.
- Security Features: Rockspace prioritises the security and privacy of its users. The AX1800 supports advanced security protocols, protecting your network from potential threats.
- User-Friendly Interface: Navigating the features of the Rockspace AX1800 is made simple through its intuitive interface. Users have the flexibility to customise settings and control various aspects of their network.
- Customer Reviews and Satisfaction: To gain insights into real-world experiences, we looked at customer reviews of the Rockspace AX1800. Users consistently praise its performance, ease of use, and reliability of the connection.
- Price and Value: Considering the features packed into the Rockspace AX1800, its affordability is a pleasant surprise. The extender offers excellent value for money, making it a competitive choice in the market.
- FutureProofing Your Network: Investing in a WiFi 6 extender like the Rockspace AX1800 isn’t just about meeting current needs; it’s about futureproofing your network.

Why is Rockspace AX1800 not working accurately?
- Confirm that the LED power light on the AX1800 WiFi 6 extender is illuminated.
- Utilise a paper pin, nail, or thumb to press the Rockspace AX1800 reset button for more than six seconds.
- When the power LED turns solid, it indicates the extender has been restored to default settings.
Why is Rockspace AX1800 not turning on?
- Verify if the power button is switched off; if so, press the on/off button of the AX1800 WiFi 6 extender.
- If the LED light flashes red or orange, the device may be experiencing a weak internet connection.
- If the client device connected to the AX1800 is showing red or orange LEDs, relocate the device closer to the extender for a more stable connection.
Why is the Rockspace AX1800 not charging?
To address charging issues with the Rockspace AX1800 extender:
- Ensure that the power supply is functioning correctly and providing electricity to the extender.
- Ensure that the wall socket used to connect the extender is not damaged.
- Open the extender settings and inspect the configuration.
- Seek technical assistance or consider obtaining a new charger if problems persist.
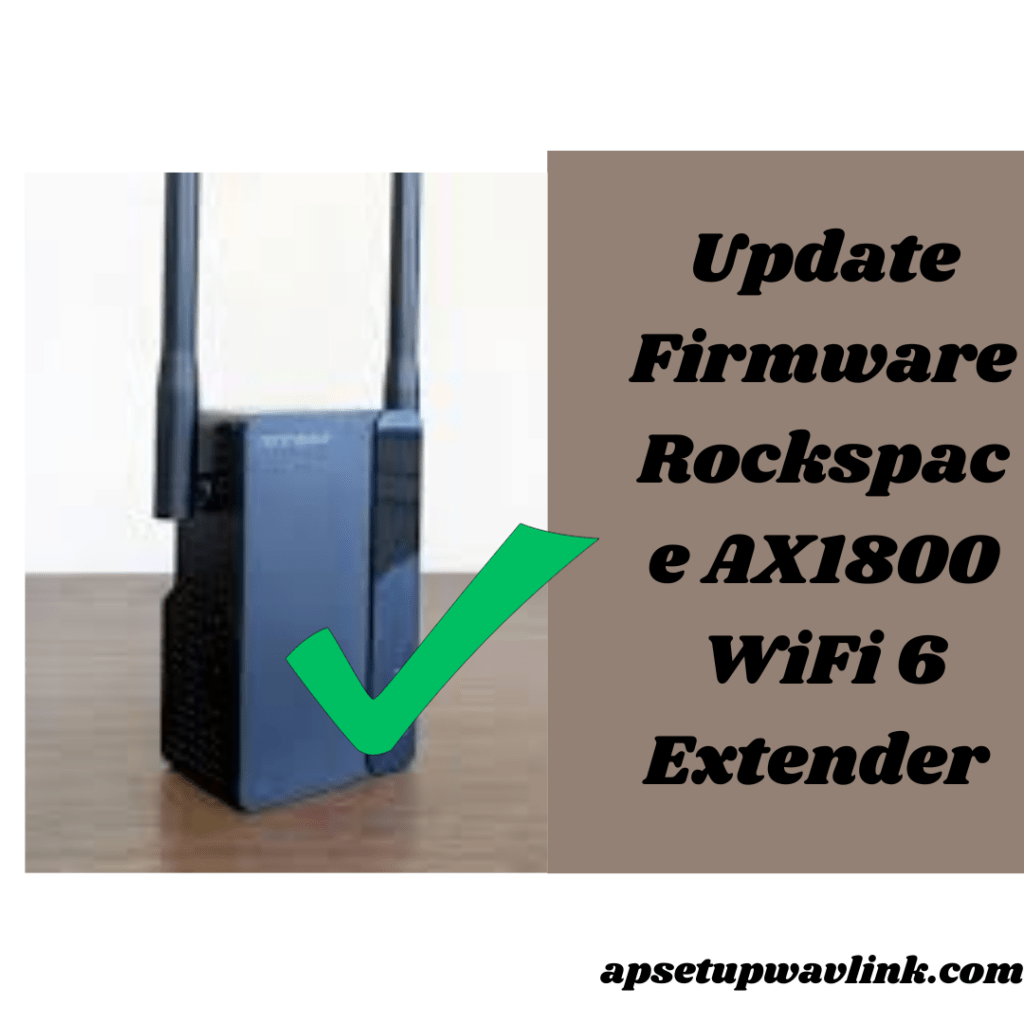
Steps for Rockspace AX1800 Firmware Update
To update the firmware of the Rockspace AX1800, follow these steps:
- Launch a secure internet browser on your client’s device.
- Enter “re.rockspace.local” into the address bar or type
- Provide the username and password details on the Rockspace AX1800 login page to access device settings.
- Once logged in, click on the administration settings tab.
- Under the administration settings, find the firmware update option for the AX1800 extender.
- Locate the file for the latest firmware update, then click “install.”
- The upgrade process will take 34 minutes to complete.
If you encounter issues beyond these troubleshooting steps, consult the Rockspace AX1800 WiFi 6 Extender Setup manual for further guidance.
Troubleshooting Tips for Rockspace AX1800 WiFi 6 Extender Setup
Troubleshooting Tips for Rockspace AX1800 Setup
- Ensure the extender is plugged in correctly.
- Ensure all cables are securely connected.
- Verify the correct WiFi network name (SSID) and password during setup.
- Check for any restrictions or filters on connected devices.
- Inspect Ethernet cables for damage and proper connection.
These simple points should assist in resolving common setup issues for your Rockspace AX1800 WiFi 6 Extender Setup. If problems persist, consult the user manual or contact Rockspace technical support.
Rockspace AX1800 WiFi 6 Extender Setup FAQ‘s
Q Can I use the Rockspace AX1800 with both WiFi 5 and WiFi 6 devices?
Q What is the coverage range of the Rockspace AX1800 WiFi 6 extender?
Q How do I troubleshoot if my Rockspace AX1800 is not connecting accurately?
Q Can I connect wired devices to the Rockspace AX1800 WiFi 6 extender?
Q What should I do if my Rockspace AX1800 extender is not charging?
Q Is the Rockspace AX1800 setup compatible with different internet connection types?
Also read: Victony wa305 new extender setup