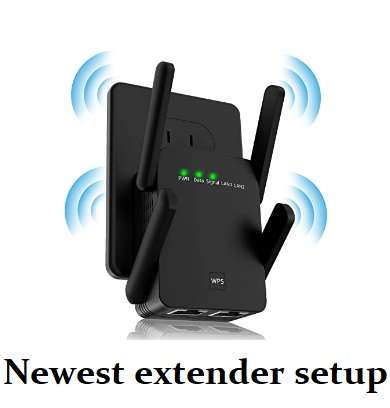
Welcome to the world of effortless internet connectivity! The Newest WiFi extender setup doesn’t have to be overwhelming. With the proper guidance, you can have fast and stable internet coverage in every part of your home or office quickly. This detailed guide will take you through the steps, guaranteeing seamless streaming, uninterrupted online gaming, and swift downloads across your area.
How do you configure the Newest wifi extender manually?
To manually configure your Newest WiFi extender, follow these steps:
1. Access a web browser like Chrome, Firefox, or Safari.
2. In the address bar, type the IP address (192.168.10.1) of the extender.
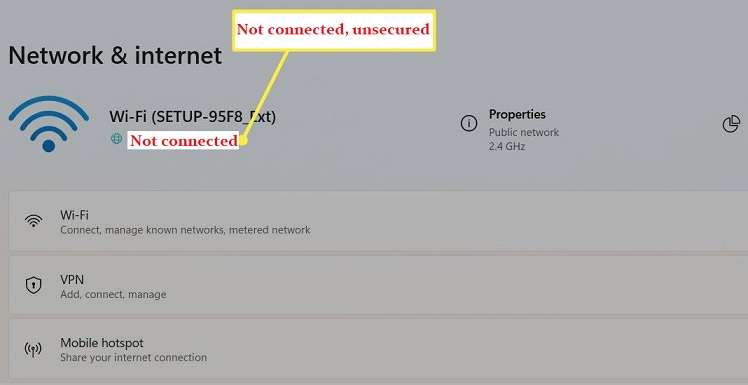
3. Now the Newest Wi-Fi extender login page Appears on your screen.
4. You will receive a prompt to input a username and password.
5. Use the default credentials (usually “admin” for username and password) or check the manual for specific login details.
6. Most extenders have a setup wizard that guides you through the configuration process. Provide the necessary information, such as your existing WiFi network name (SSID) and password, and follow the on-screen instructions.
Please note that setup procedures can differ for various Newest extender models. Always consult the setup guide that came with your extender for accurate instructions.
For more information about:
1. How to connect a Wavlink extender.
2. AOOEPU wifi extender setup.
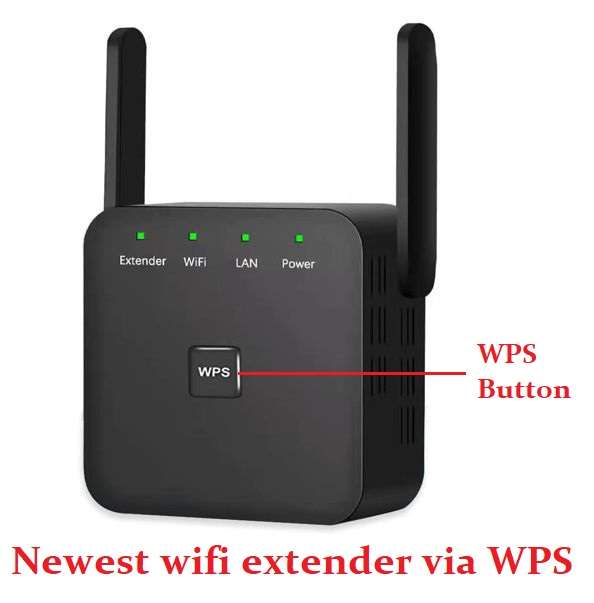
Newest Wi-Fi extender Setup via the WPS method
Many WiFi extenders support WPS (WiFi Protected Setup) for a hassle-free installation:
1. Press the WPS button on your extender.
2. Also press the WPS button on your router within a two-minute timeframe.
3. Wait for the connection to establish (indicated by solid LED lights).
4. Your extender is now set up and ready to use.
Please note that not every router model or extender is compatible with WPS.
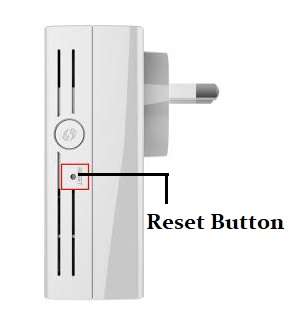
Performing a factory reset on the Newest Wi-Fi extender
If you need to reset your extender to its default settings:
1. Find the reset button on your extender, typically in a small hole.
2. Utilize a paperclip or a similar tool to press and hold the reset button for approximately 10 seconds.
3. Release the button when the LED lights start flashing.
4. Your extender has been reset to factory settings.
Remember, these steps are general and might not apply to your specific device. Always refer to the user manual or the manufacturer’s website for the most accurate and detailed instructions tailored to your Wi-Fi extender model.
Upgrading the Newest Wi-Fi extender Firmware
Upgrading the firmware on your Wi-Fi extender is an important step to ensure that it functions properly and securely. Firmware updates frequently contain bug fixes, security patches, and enhancements to performance.To upgrade the firmware on the newest Wi-Fi extender, follow these general steps:
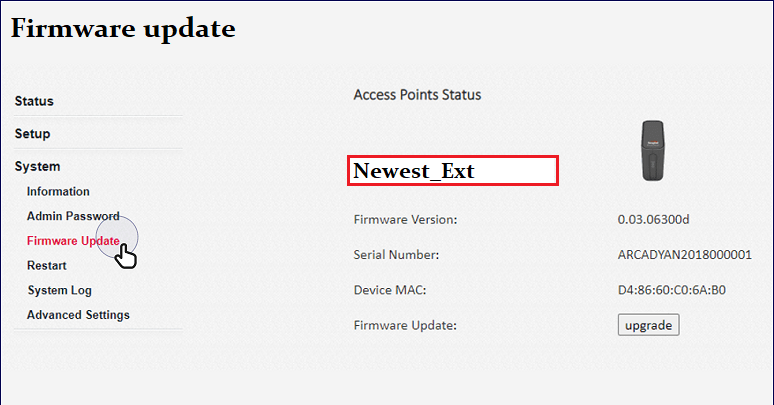
1. Go to the manufacturer’s website and find the support or download section.
2. Find your extender’s model and download the latest firmware version.
3. Access your extender’s web interface and navigate to the firmware update section.
4. Upload the firmware file you downloaded and follow the on-screen instructions to finish the update process.
Your Wi-Fi extender’s firmware is now up to date. Regularly checking for and applying firmware updates is essential for maintaining the security and performance of your extender. Be sure to consult your extender’s user manual for model-specific instructions and details.
Common issues for Newest extender setup
The newest WiFi extender setup can sometimes be tricky, but here are some common issues people face and easy ways to resolve them:
1. Extender too far from the router – Move it closer for a stronger signal.
2. Double-check your WiFi network name and password. Ensure they’re entered correctly during setup.
3. Update the extender’s firmware to the latest version for bug fixes and improved performance.
5. The newest wifi extender has no internet connection.
6. Ensure the extender is getting a stable power supply. Avoid using damaged cables or faulty outlets.
7. If all else fails, perform a factory reset on the extender and set it up again from scratch.
Troubleshooting Tips:
The newest WiFi extender setup can be relatively straightforward, but troubleshooting may be necessary in case of issues. Here are some short points to help you troubleshoot the WiFi extender setup:
1. Ensure that your WiFi extender is compatible with your router’s frequency (2.4GHz or 5GHz).
2. Position the extender midway between your router and the area with weak WiFi signals.
3. Verify that the extender is receiving a good signal from your router. The power LED should be solid.
4. If the extender is used or previously configured, perform a factory reset to clear any prior settings.
5. On your device (e.g., smartphone or laptop), connect to the extender’s network (usually with the extender’s name).
6. Open a web browser and enter the extender’s default IP address (e.g., 192.168.1.1) to access its configuration page.
7. Most extenders offer a setup wizard to guide you through the process. Follow the on-screen instructions.
8. Set the extender’s SSID (network name) and password to match your existing WiFi network or create a new one.
9. Ensure that security settings (e.g., WPA2) match your router’s settings for a seamless connection.
10. The extender may automatically choose the best channel, but you can manually select a less congested channel.
11. Check for extender firmware updates and install them if available to ensure optimal performance.
12. After setup, reboot the extender and reconnect your devices to the extended network.
13. Test the signal strength in the previously weak coverage area to ensure improvement.
14. Identify and mitigate interference from neighboring networks or electronic devices.
15. Pay attention to LED indicators on the extender; they may provide clues to any issues.
16. Consult the extender’s user manual or online support resources for specific troubleshooting steps.
17. If you continue to face issues, contact the extender’s manufacturer or customer support for assistance.
Remember to document your settings and configurations during the Newest WiFi extender setup process, as this can be helpful if you encounter future problems or need to make adjustments. If you have any issues with your extender, you can contact our professional expert or dial our toll-free number (+1-323-471-3045) or email: [email protected]