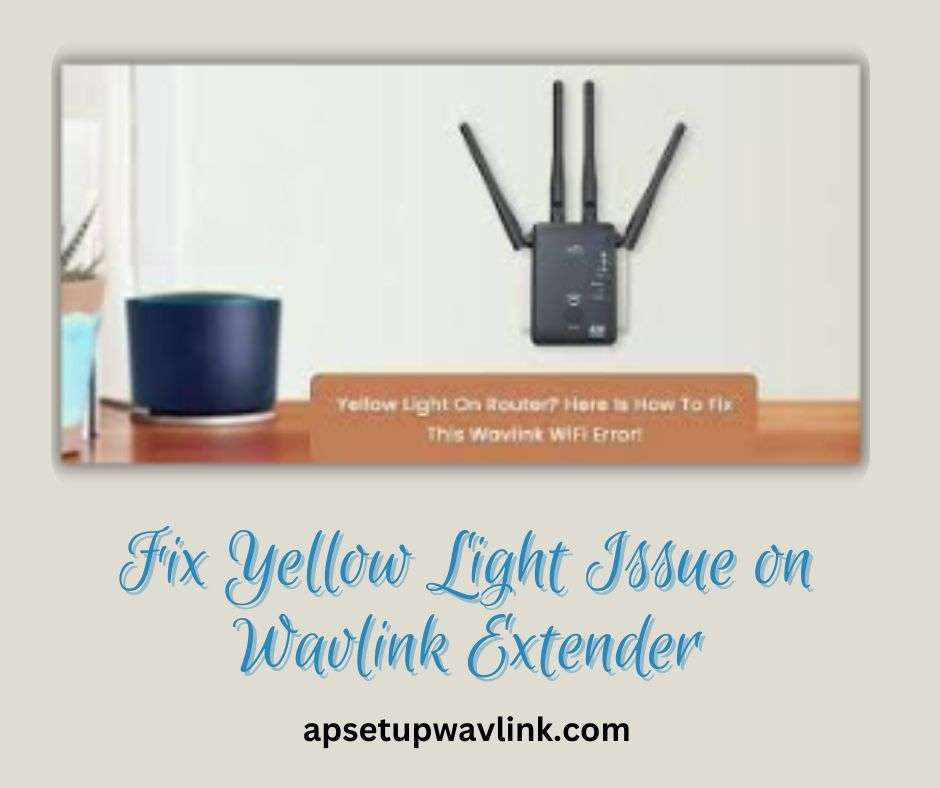
A Wavlink extender is a valuable tool for expanding the reach of your home Wi-Fi network. However, if you encounter a yellow light on Wavlink extender, it indicates an issue that needs to be addressed. In this comprehensive guide, we’ll delve into the causes and solutions for the yellow light problem, ensuring you get back to enjoying seamless internet connectivity.
Understanding the Yellow Light on Wavlink extender Indicator
The yellow light on Wavlink extender typically signifies a warning or cautionary status. It doesn’t necessarily mean a complete failure, but it does warrant attention to prevent any potential disruptions to your Wi-Fi network.
Common Causes of Yellow Light Issue
- Weak Wi-Fi Signal: A weak signal from your main Wi-Fi router can cause the extender to display a yellow light. This is because the extender is struggling to connect to the router, resulting in unstable or unreliable Wi-Fi performance.
- Placement Issues: The placement of your Wavlink extender is crucial for optimal performance. If positioned too close to the router, it can create interference, causing the yellow light to illuminate. Similarly, placing it too far away from the router will result in a weak signal, leading to the same issue.
- Incorrect Configuration: Improper configuration of your Wavlink extender can also trigger the yellow light. This could include incorrect SSID or password settings, outdated firmware, or incompatible settings.
- Physical Damage: While less common, physical damage to the extender, such as a damaged cable or internal component, can also cause the yellow light on Wavlink extenders to appear.
Troubleshooting Steps for Yellow Light on Wavlink extender
- Position Optimization: Reposition your Wavlink extender to ensure it’s within the router’s effective signal range but not too close to cause interference. An ideal location is halfway between the router and the area where you need Wi-Fi coverage.
- Signal Strength Check: Verify the strength of the signal from your main router. If it’s weak, consider upgrading to a more powerful router or relocating it to a central location in your home.
- Configuration Verification: Double-check the configuration settings on your Wavlink extender. Ensure the SSID and password match those of your main router, and update the firmware if necessary.
- Reset to Factory Defaults: If the yellow light persists, consider performing a factory reset on your Wavlink extender. This will erase all current settings and restore the extender to its default state.
Advanced Troubleshooting
- Check for Interference: Eliminate potential sources of interference, such as microwaves, baby monitors, or cordless phones, which can disrupt Wi-Fi signals.
- Upgrade Firmware: Regularly check for firmware updates for your Wavlink extender. Firmware updates often include bug fixes and performance improvements that can resolve yellow light issues.
- Contact Wavlink Support: If none of the troubleshooting steps resolve the issue, contact Wavlink customer support for further assistance. They may be able to provide more specific guidance based on your extender model and issue details.
Preventive Measures
- Regular Maintenance: Regularly restart your Wavlink extender and main router to refresh their connections and prevent potential issues.
- Firmware Updates: Check for firmware updates periodically and install them promptly to keep your extender’s performance optimised.
- Optimal Placement: Choose a strategic location for your extender to minimise interference and ensure adequate signal strength.
- Protect from Damage: Handle your Wavlink extender with care to avoid physical damage that could lead to yellow light problems.
ALSO READ-
AVM FRITZ!Box 7490 AC1750 Setup: A Comprehensive Guide
Hasako wifi Extender Setup
Baetaey WiFi Repeater Setup
Galaway WiFi Extender Setup
How to Fix Wavlink Extender Flashing Red Light Issue
Wavlink AC600 extender setup
Conclusion
A yellow light on your Wavlink extender is an indicator that needs attention. By understanding the common causes and following the troubleshooting steps outlined in this guide, you can effectively resolve the issue and restore your Wi-Fi network to its peak performance. Remember, if the problem persists, don’t hesitate to contact Wavlink customer support for further assistance.
FAQ